Gutenberg was first in WordPress 5.0. It came up with many additional options, offering intuitive and flexible ways for content creation. Gutenberg Toolbar is one of those additional options.
What is the Gutenberg Toolbar?
Gutenberg Toolbar includes a comprehensive collection of editing tools and options that appear at the top of the Gutenberg editor interface. From basic formatting options to advanced block manipulation, the toolbar provides numerous options to curate wonderful content that hooks users.
How to Use the Options Coming with the Gutenberg Toolbar
The options on the Gutenberg toolbar usually depend on the block you are selecting. Depending on your selected block, the toolbar may come up with sometimes additional particular options. But there are some options commonly seen with all blocks.
After you add any block to the Gutenberg editor, you’ll see the toolbar on top of it marked in the image below. For this tutorial, we have selected the paragraph block.
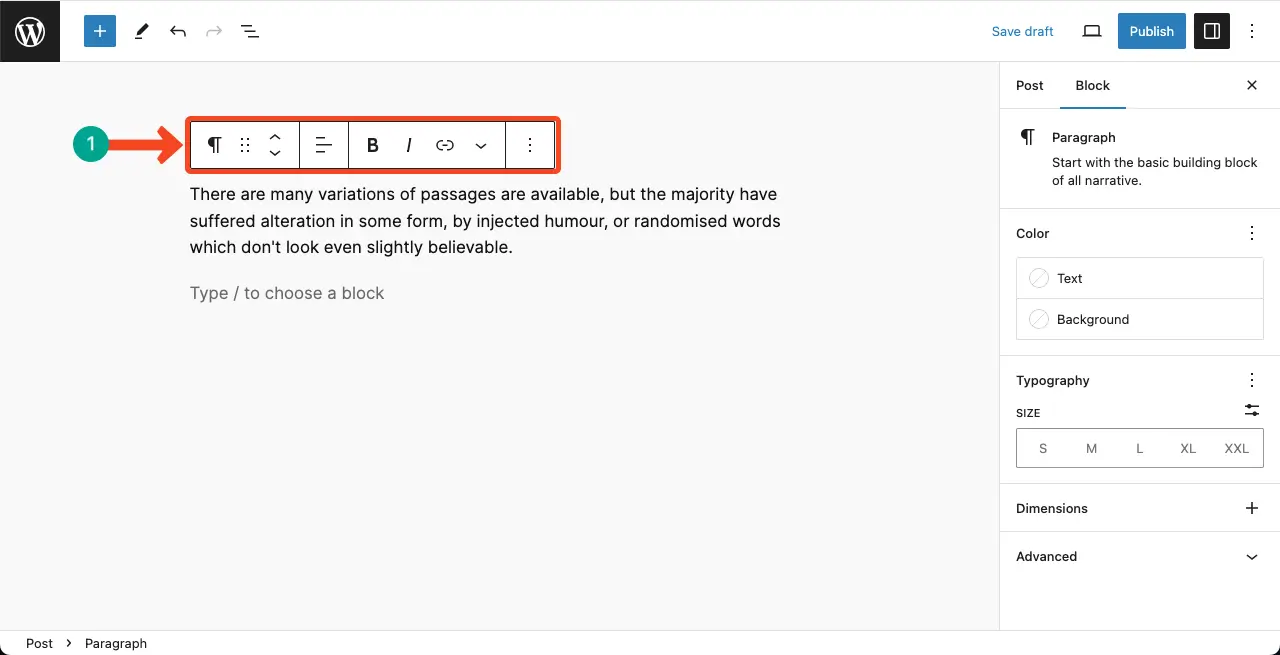
Here’s a list of the options you can see on the toolbar, what you can do with them, and how to use them.
1. Block Name (Paragraph)
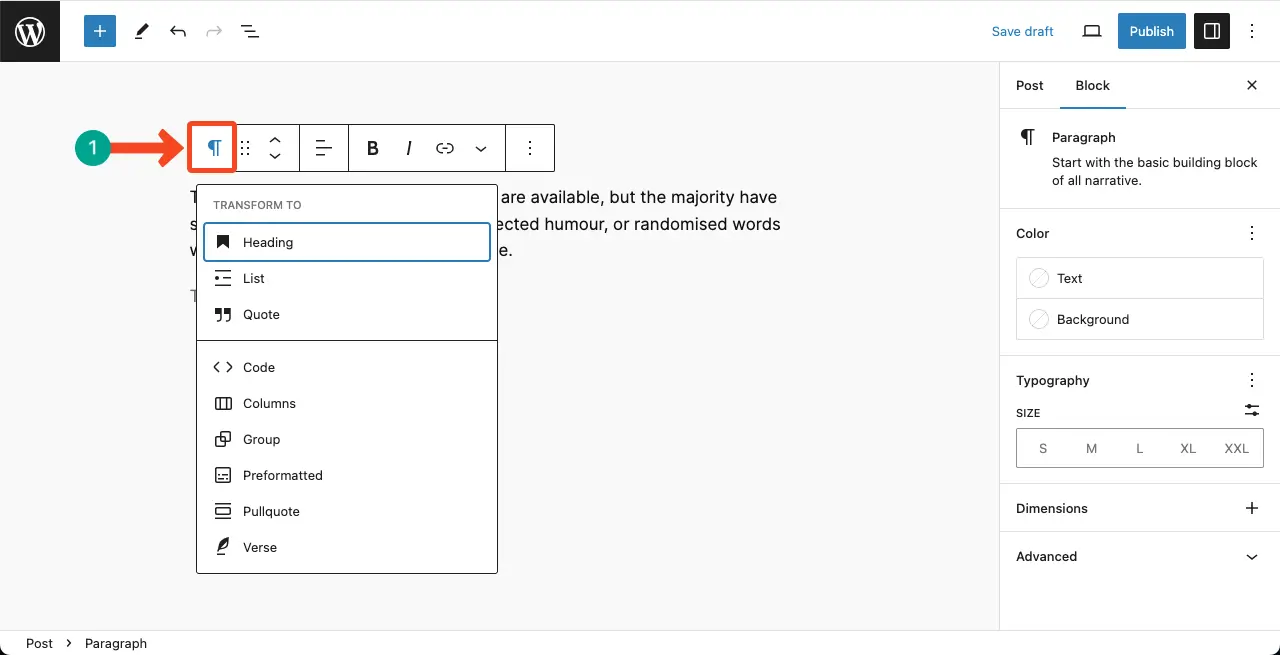
The very first option usually represents the block on which the toolbar is. By clicking this icon, you can select the entire block. Besides, once you click this option (block name), you’ll find a list of some additional options based on the block.
For example, after clicking the Gutenberg Paragraph block, we’ve found a list of these additional options: Heading, List, Quote, Code, Columns, Group, Preformatted, Pullquote, and Verse.
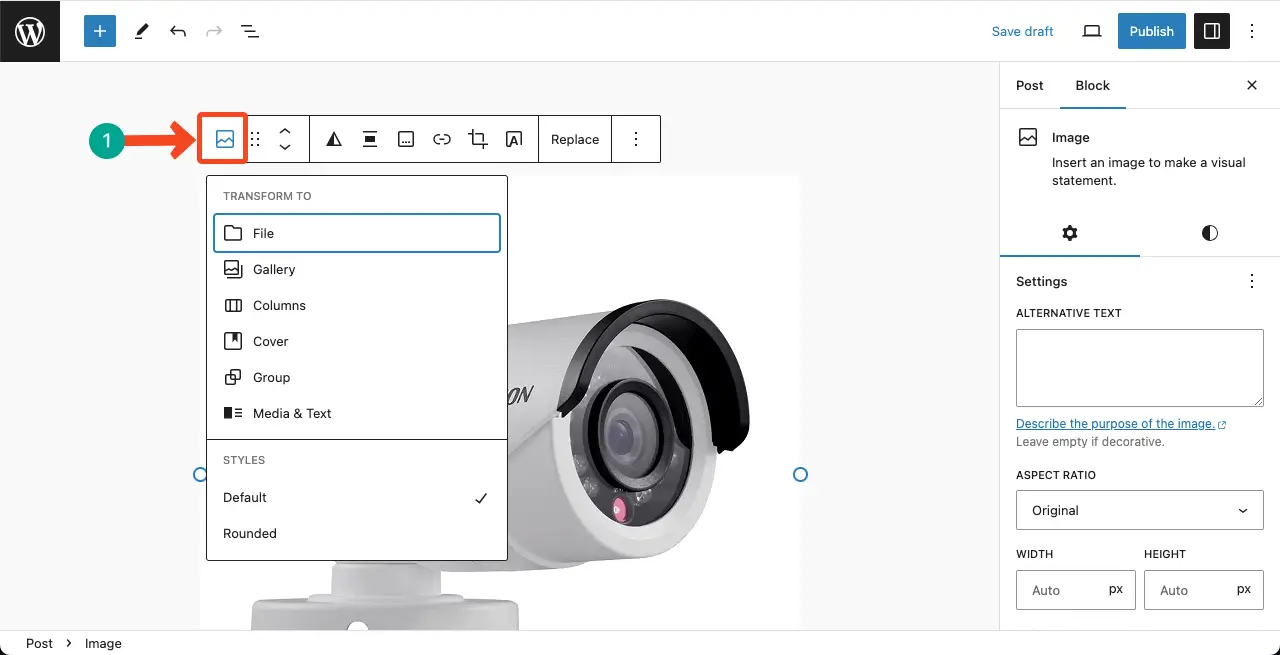
For another example, if this were an image block, you would find these options: File, Gallery, Columns, Cover, Group, Media & Text, Default Style, and Rounded Style.
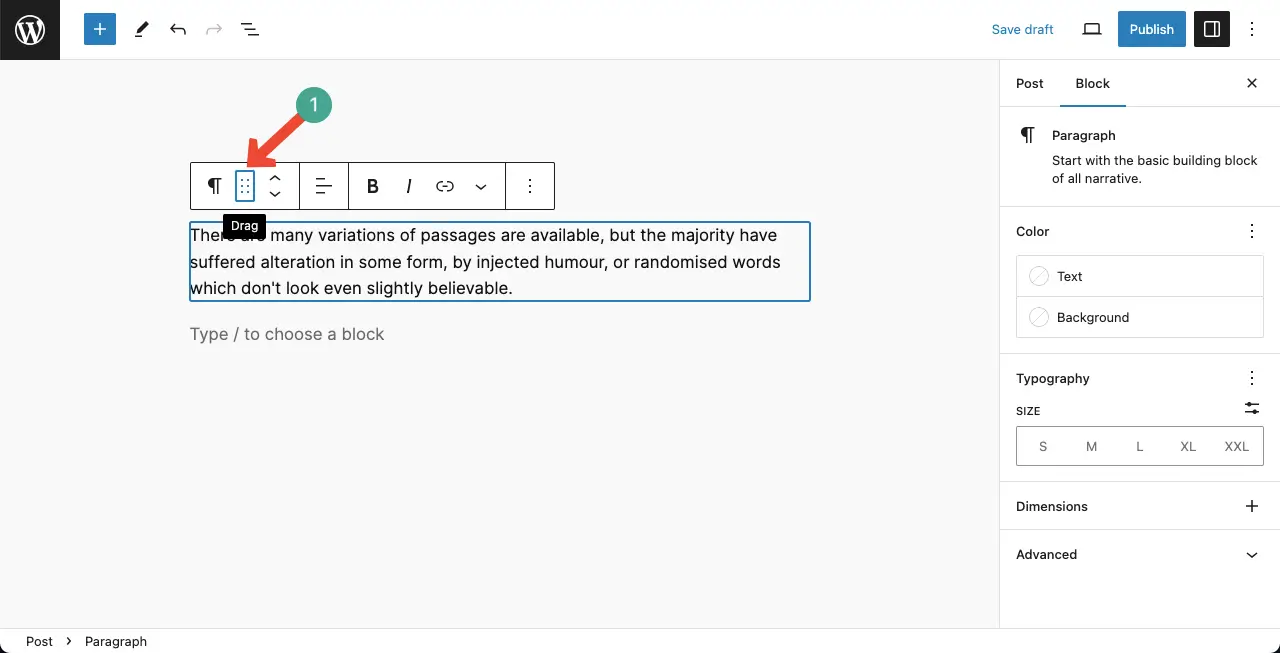
2. Drag
Drag is the second option on the Gutenberg toolbar. By holding down this option, you can drag and drop a particular blog above or below another block. This feature is almost similar to the drag-and-drop editor.
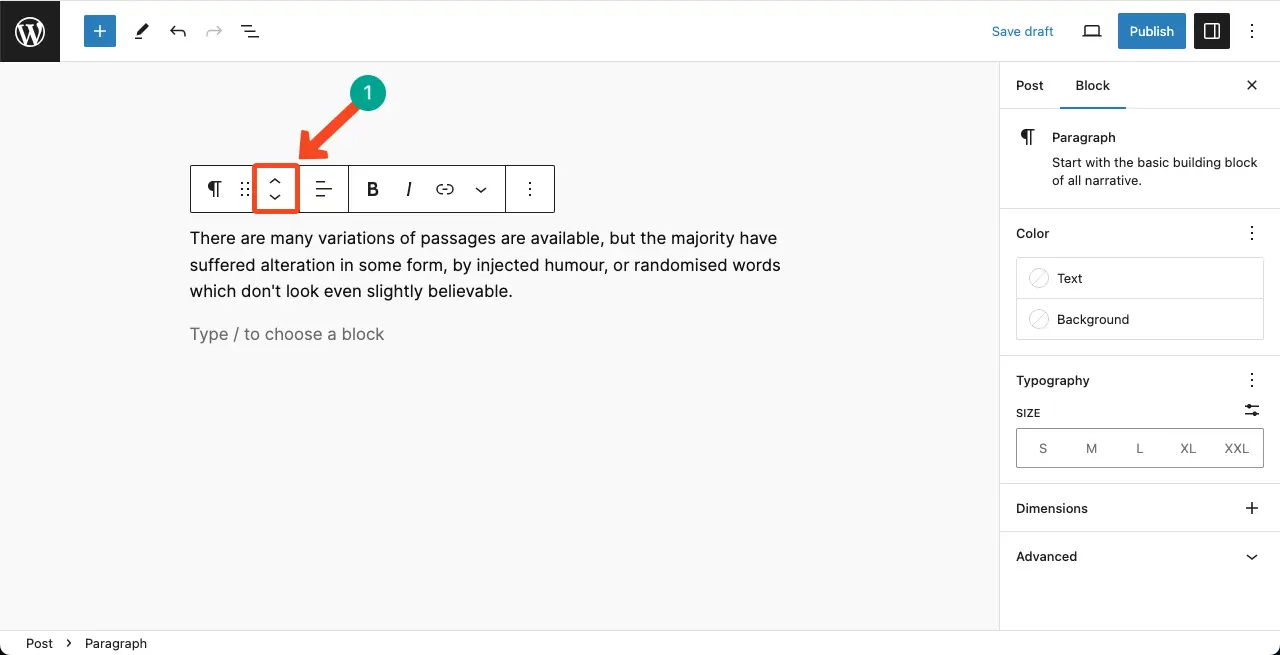
3. Move Up/Down
These upside and downside arrow icons allow you to move up or down the selected block over others. If you don’t love to use the drag option, you can use this one.
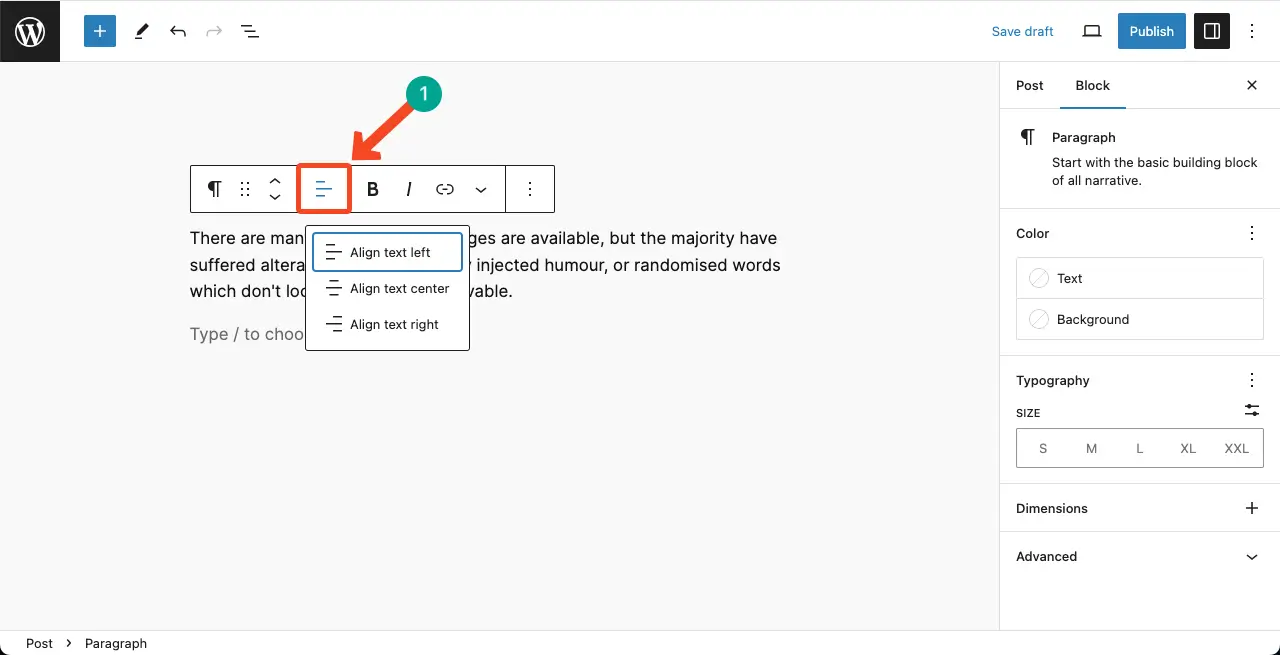
4. Alignment
Using this alignment option, you can align your text content on the right, left, or center. Since we are currently using the paragraph block, this option is named as Align Text.
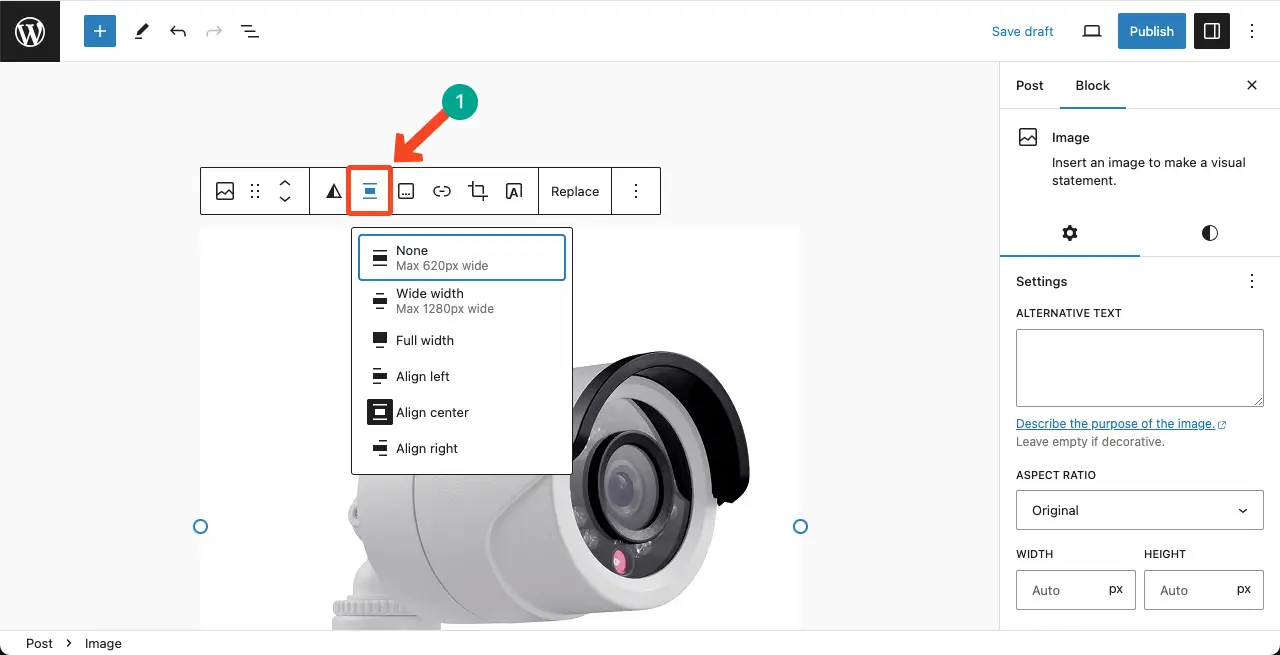
Let’s for example, we have added an image block. You can see the alignment option here is a bit different. It also allows you to align the image on the left, right, or center. Plus, you can decide to apply the Wide-width or Full-width option.
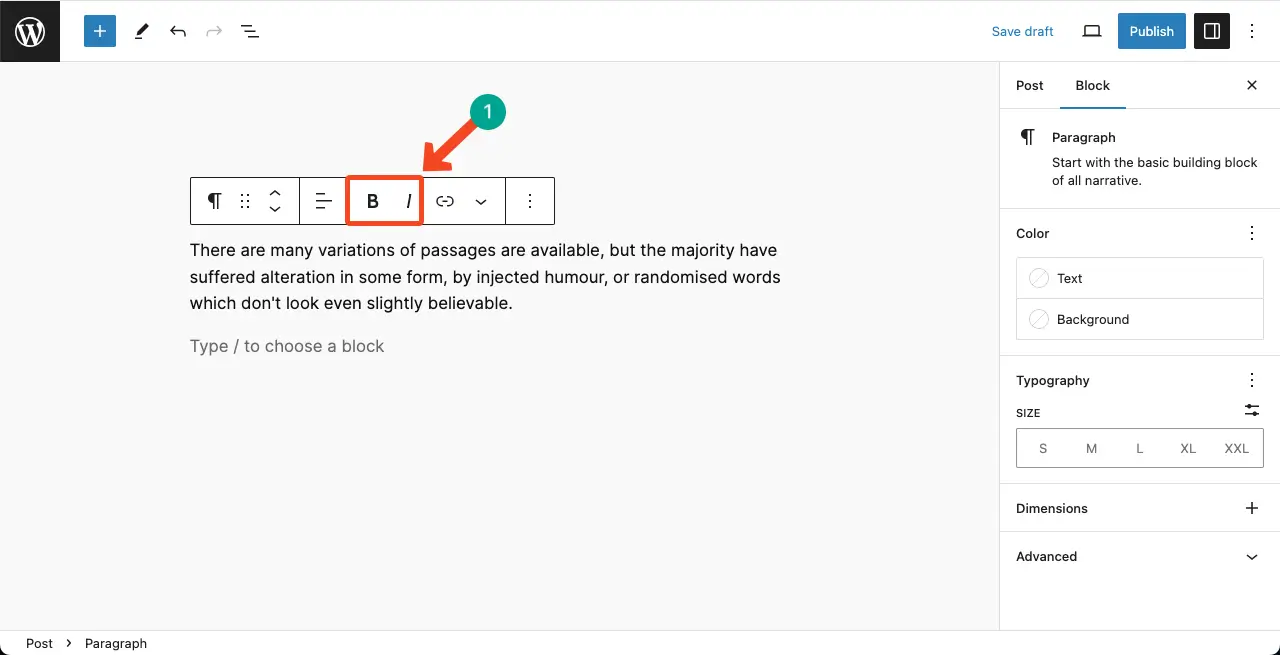
5. Blod and Italic
You will find bold and italic options in any text type block. Using them, you can make certain parts of your text bold and italic.
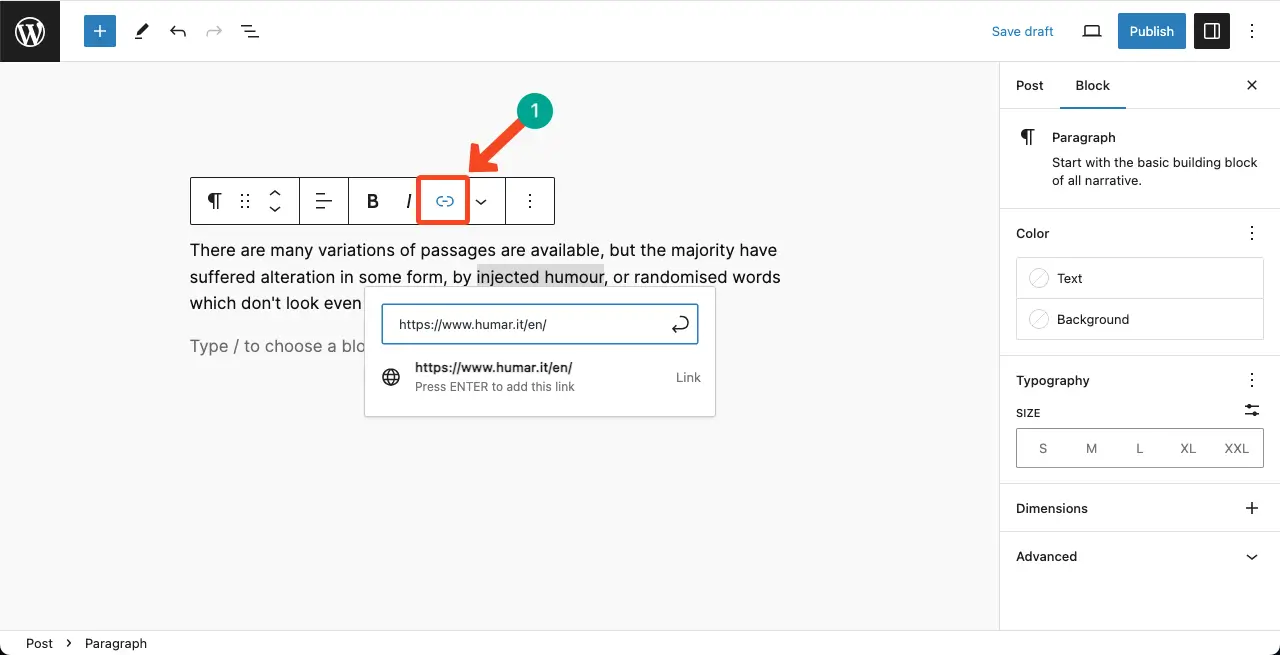
6. Link
Whenever you want to link any post, page, or website to any of your anchor text, you have to use this Link option on the toolbar.
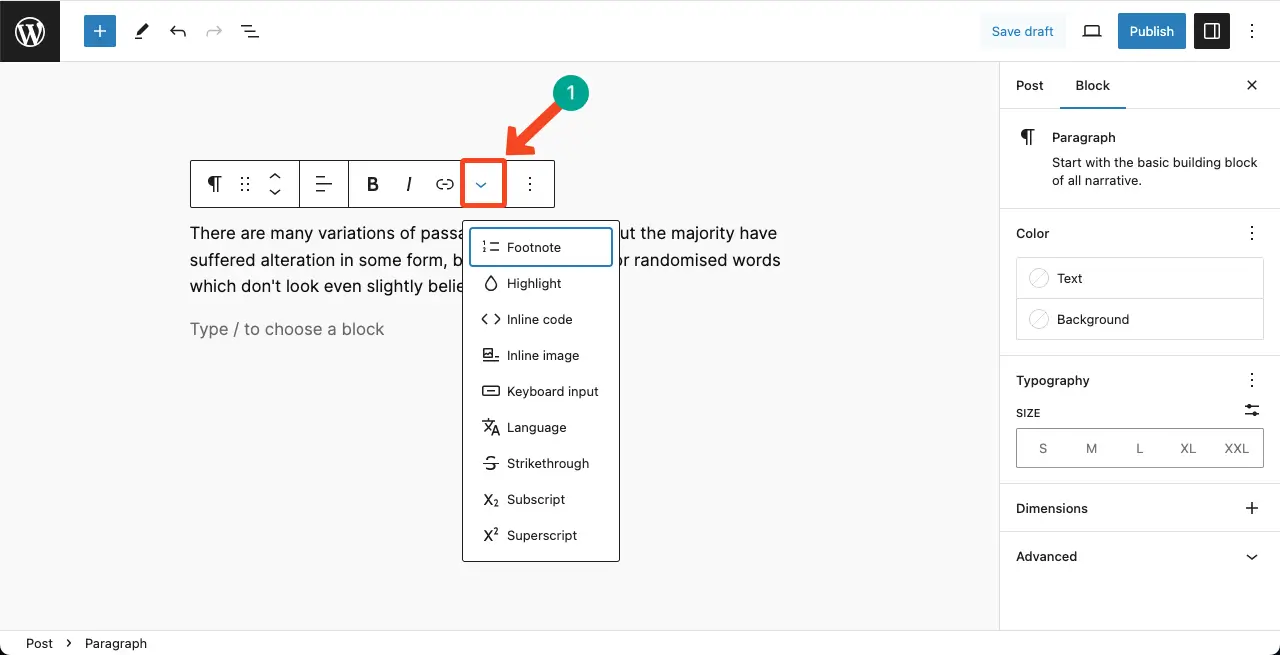
7. More
This is one of the most comprehensive options on the toolbar. Because it includes lots of additional but important options that most people don’t know how to use. They are Footnote, Highlight, Inline code, Inline Image, Keyboard input, Language, Strikethrough, Subscript, and Superscript.
Here’s a breakdown of what you can do with each of these options on the Gutenberg toolbar. We’ve also linked an article on each respective topic below so you can see in detail what you can do with that option.
Footnote: The Footnote option allows you to add a footnote, explanatory notes, citations, or references without disrupting the flow of the main text.
Highlight: The Highlight option enables you to apply a background color to selected text, making it stand out from the rest of the content.
Inline code: The Inline code option is used to format and display snippets of code within your content. It applies a monospaced font and typically displays the code within backticks (`).
Inline Image: The Inline Image option allows you to insert images directly into your text content. These images are used as icons within the text.
Keyboard input: This is used to represent keyboard keys or key combinations within your content in a monospaced font. This is useful when providing instructions, tutorials, or keyboard shortcuts.
Duotone filter: This option appears on the Gutenberg toolbar after you add an image to the editor. Using this option, you can add two shades of color to the image to make it look captivating.
Crop: This option also appears after adding an image to the editor. It helps you crop the image to your desired size without having to depend on any third-party plugin.
Link image: This option is almost similar to adding links to the anchor texts. By adding links to images, you can make the images clickable.
Add text over image: This option lets you add text over the image you add to the Gutenberg editor. You can highlight any specific information, copyright code, or else so people can both read and visualize the content.
Language: The Language option allows you to specify the language of a specific block of text. This is especially useful when working with multilingual content.
Replace: By using this option, you can directly replace an image on the Gutenberg editor without having to delete it first and then upload a new one from the media library or local drives.
Strikethrough: The option applies a horizontal line through selected text, indicating that it has been deleted or is no longer valid.
Subscript: You can use this option to format your selected text as subscript, meaning it appears slightly below the regular text baseline. They are used in mathematical equations and chemical formulas.
Superscript: This is used to format selected text as superscript, meaning it appears slightly above the regular text baseline. They are commonly used for mathematical exponents and footnote references.
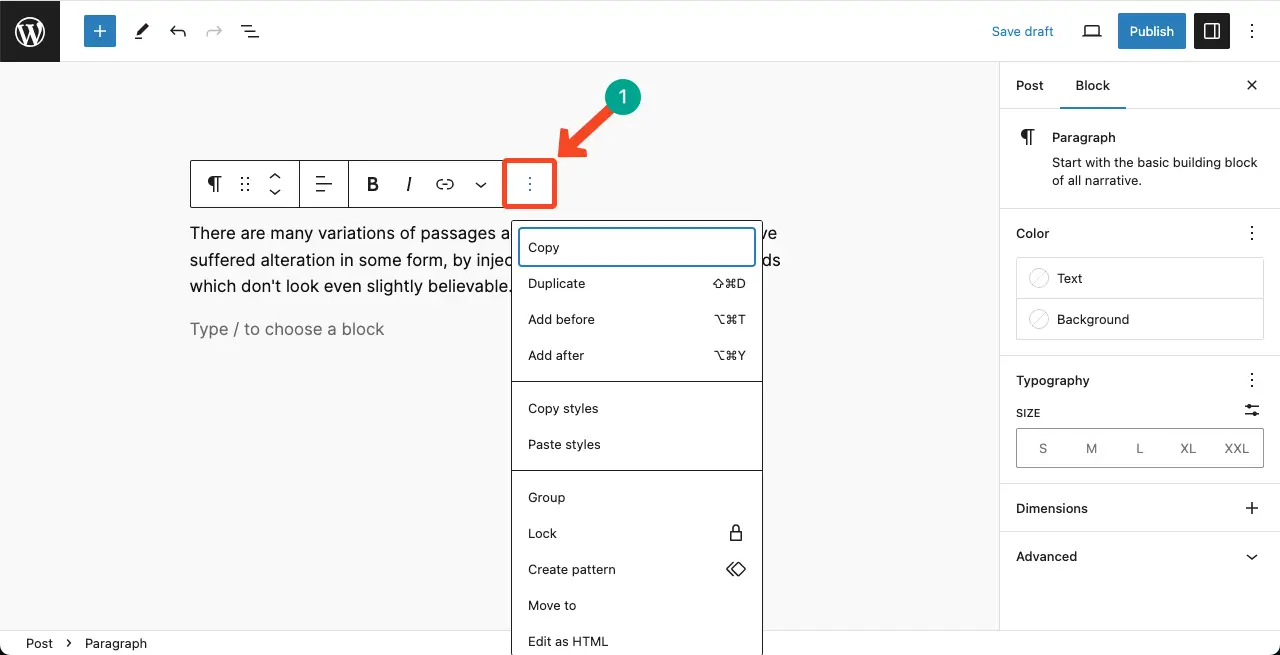
8. Option
This is the last option on the Gutenberg toolbar which is also known as option. Here again, you’ll find some additional options. They are Copy, Duplicate, Add before, Add after, Copy styles, Paste styles, Group, Lock, Create pattern, Move to, Edit as HTML, and Delete.
Take a quick look at what you can do with these options on the toolbar.
Copy: It allows you to copy a selected block or content within a block. This is useful when you want to duplicate or reuse content elsewhere in your post or page.
Duplicate: The Duplicate option creates an exact copy of the selected block. It is handy when you want to create multiple blocks with similar content or styles.
Add before: The Add before option lets you insert a new block before the selected block. This helps add new content or rearrange the order of blocks within your post or page.
Add after: The Add after option enables you to insert a new block after the selected block. This one is just as useful as the previous option.
Copy styles: The Copy styles option allows you to copy the styles (formatting, colors, etc.) applied to a selected block.
Paste styles: The Paste styles option lets you apply the copied styles to a selected block. You can maintain block format consistency across multiple blocks using this option.
Group: It empowers you to group multiple blocks. You manage and manipulate them as a single unit, making it easier to move, duplicate, or apply changes to the entire group.
Lock: Locking blocks can prevent accidental modifications. You can use this when you want to preserve the content or formatting of a block while editing other parts of your post or page.
Create pattern: The Create pattern option enables you to save a group of blocks as a reusable pattern. This allows you to easily reuse the same layout or content in other posts or pages.
Move to: The Move to option lets you move a selected block to a different location within your post or page. This is useful for rearranging the order of blocks or organizing your content.
Edit as HTML: The Edit as HTML option allows you to view and edit the HTML code of a selected block. This is useful for making advanced customizations or modifications to the block’s underlying code.
Delete: The Delete option removes the selected block from your post or page. Use this option when you want to remove unwanted or unnecessary content.
Finishing Note!
Once you know how to use these options on the Gutenberg Toolbar, crafting wonderful pieces of content on WordPress becomes a game for you. Hope you enjoyed this article. We’ll keep talking and describing more about Gutenberg and WordPress in our upcoming posts.