The WordPress Separator block allows you to add a horizontal line or separator between two blocks of content on WordPress pages and posts. It helps you create a visual break or separation between different sections or ideas within your content.
This is a very simple and straightforward block. In this post, I’ll show you how to use the WordPress separator block with a quick step-by-step guide.
Step 01: Find and Add the Separator Block to Your Desired Place on the Editor
Select the place where you want to add the Separator block. Hover your cursor on the place to appear the Gutenberg plus (+) button.
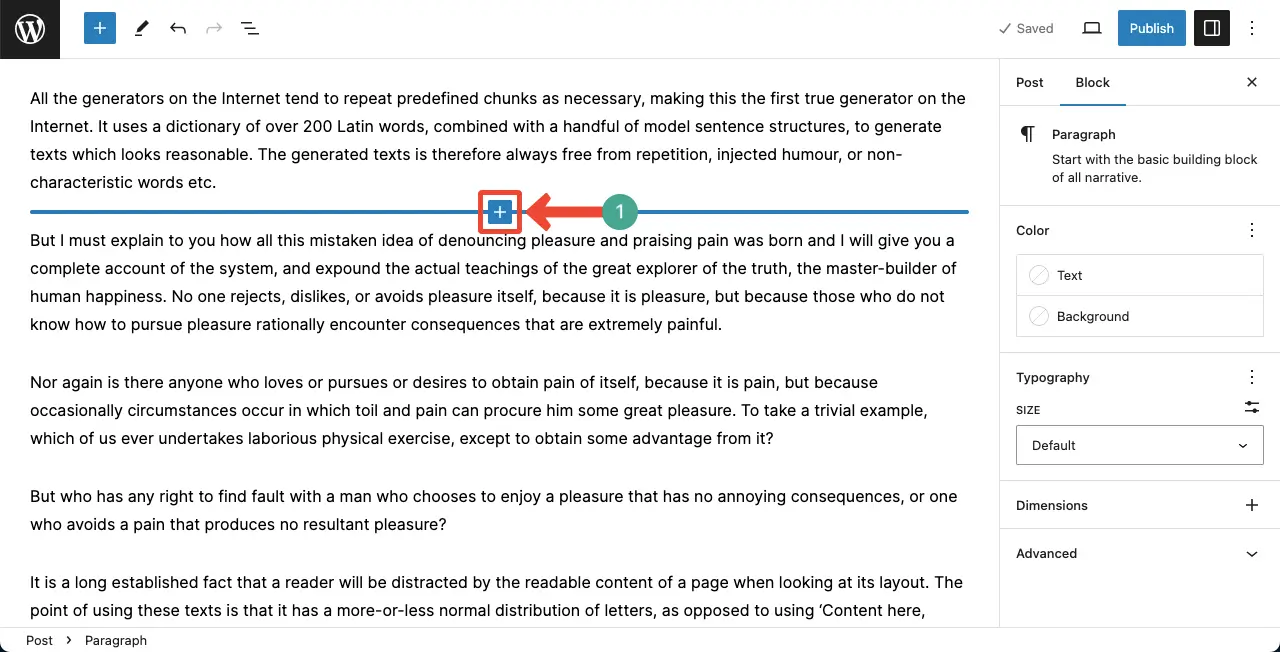
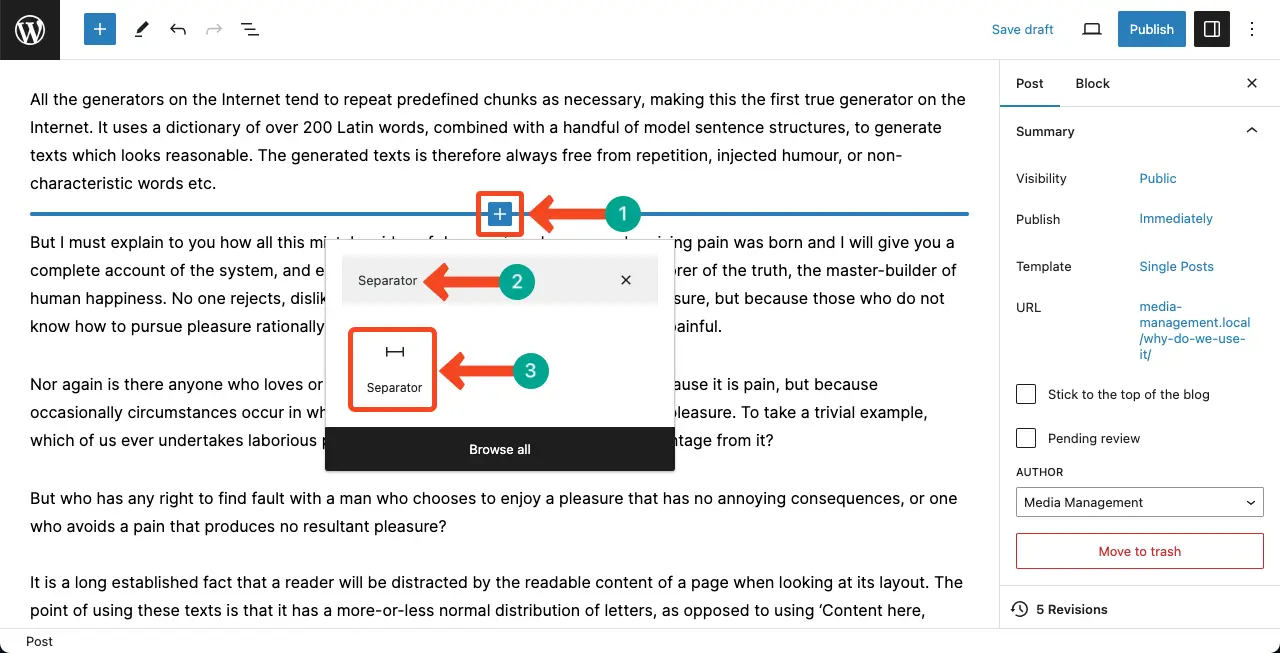
Press the plus (+) button. Type Separator in the search box. Click to add the block to the editor.
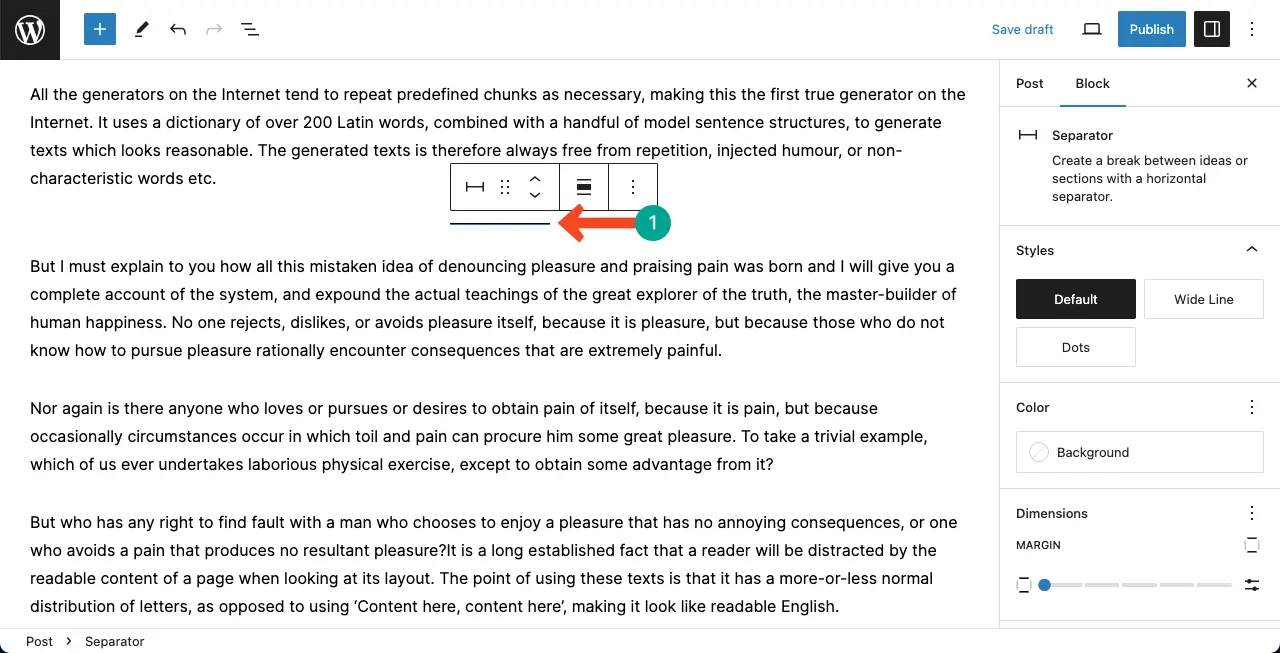
You can see the Separator block has been added to the editor.
Step 02: Resize the Gutenberg Separator Block
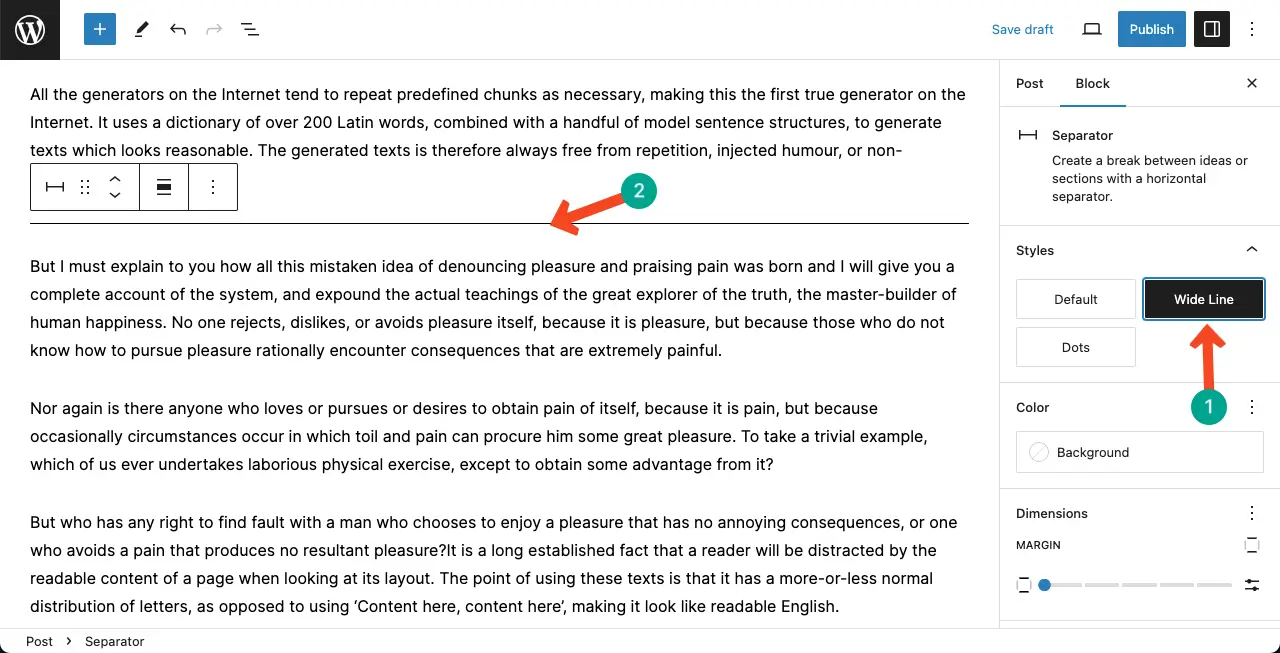
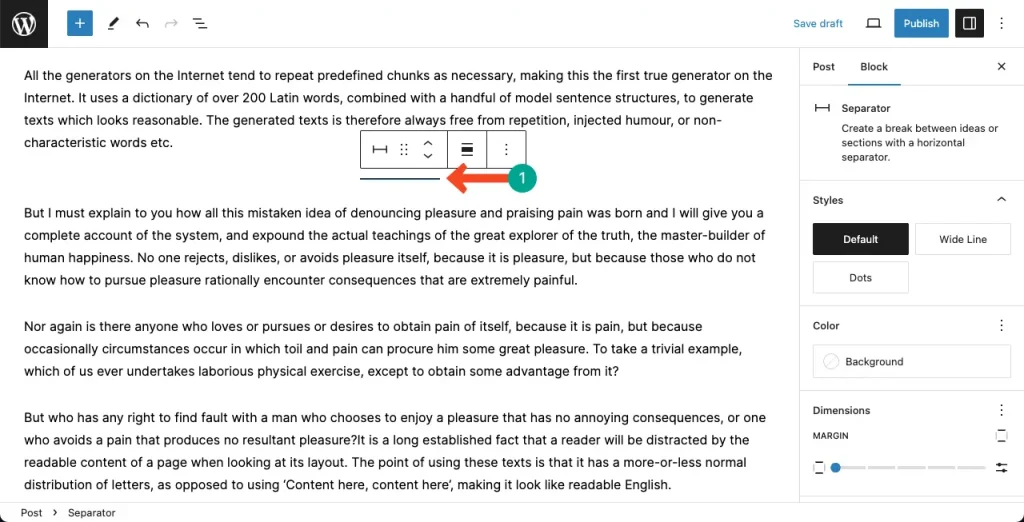
By default, the Separator block comes as a small horizontal line. To increase its size, come to the right sidebar and click the Wide Line option. You will see that the width of the line has increased.
You can also change the line in the separate block to dots. To do this, click the Dots button on the right sidebar under the Styles option.
Step 03: Colorize the Gutenberg Separator Block
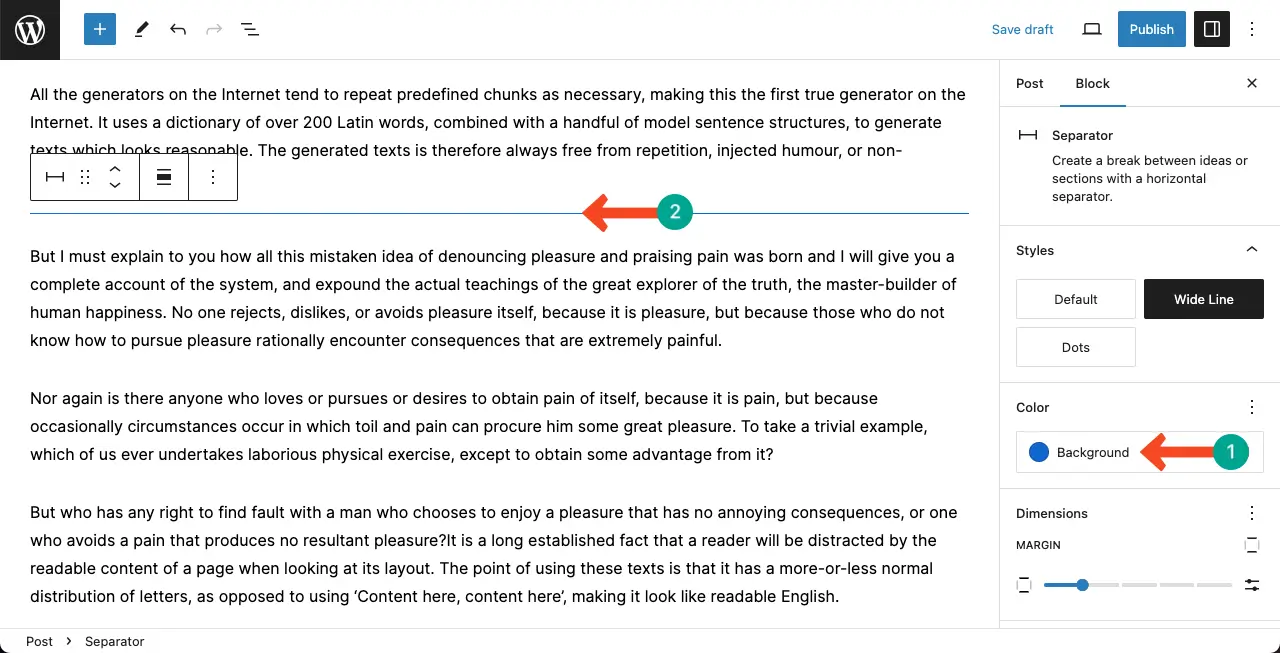
By default, the Separator block is black. To change its color, go to the Color option on the right sidebar. Click Background and select the color you want to apply.
Final Words!
It is best not to use this separator block more than once or twice in the entire blog post. Because if you use it too much, it will disturb the readability of the users. In addition, consider the overall design and aesthetic of your website when customizing the separator style.
Finally, test your website’s responsiveness to ensure the separator displays correctly on all devices. If using a theme that already provides visual separators, evaluate whether the Separator block is necessary or redundant. Thus, hope you can use the WordPress Separator block perfectly.

