
The WordPress Previous Post block in Gutenberg is a powerful tool that enhances the navigation experience for readers on your WordPress website. By incorporating this block into your posts or pages, you can provide a seamless way for users to explore previous posts in a specific order.
In this blog post, I will show you how to add and use the WordPress Previous Post block in the Gutenberg editor. Get started!
What Is the WordPress Previous Post Block?
The Previous Post block allows you to display a navigation link that directs readers to the post that precedes the current one. This feature is particularly useful for posts, as they are typically displayed in chronological order.
By adding this block to your content, you can create a sense of continuity and encourage readers to dive deeper into your website’s archives.
How to Add and Use the WordPress Previous Post Block in Gutenberg
It’s very easy to add and use the WordPress Previous Post block in Gutenberg. I will explain the following step-by-step guide to you.
Step 01: Open a Post and Add the Previous Post Block
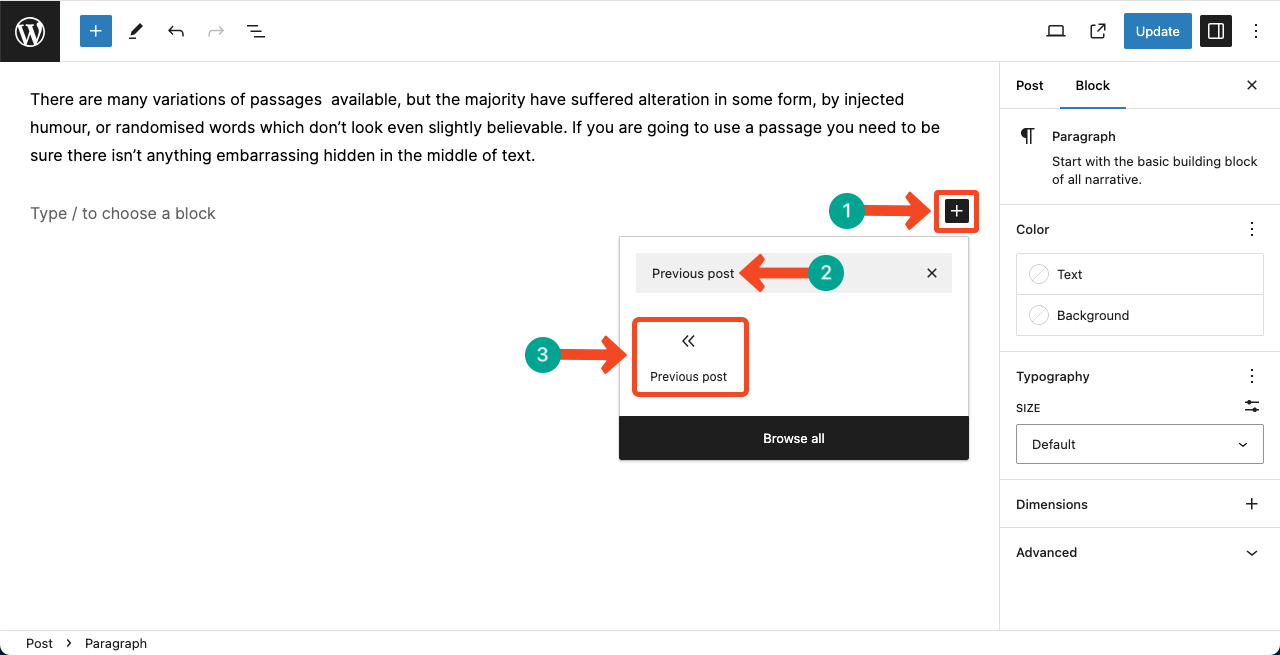
Open the post where you want to add the block. Click on the plus (+) button to open the block library.
Search for the Next Post block in the block library or use the shortcut “/next” to directly insert the Next Post block.
Step 02: Write a Copy for the WordPress Next Post Block
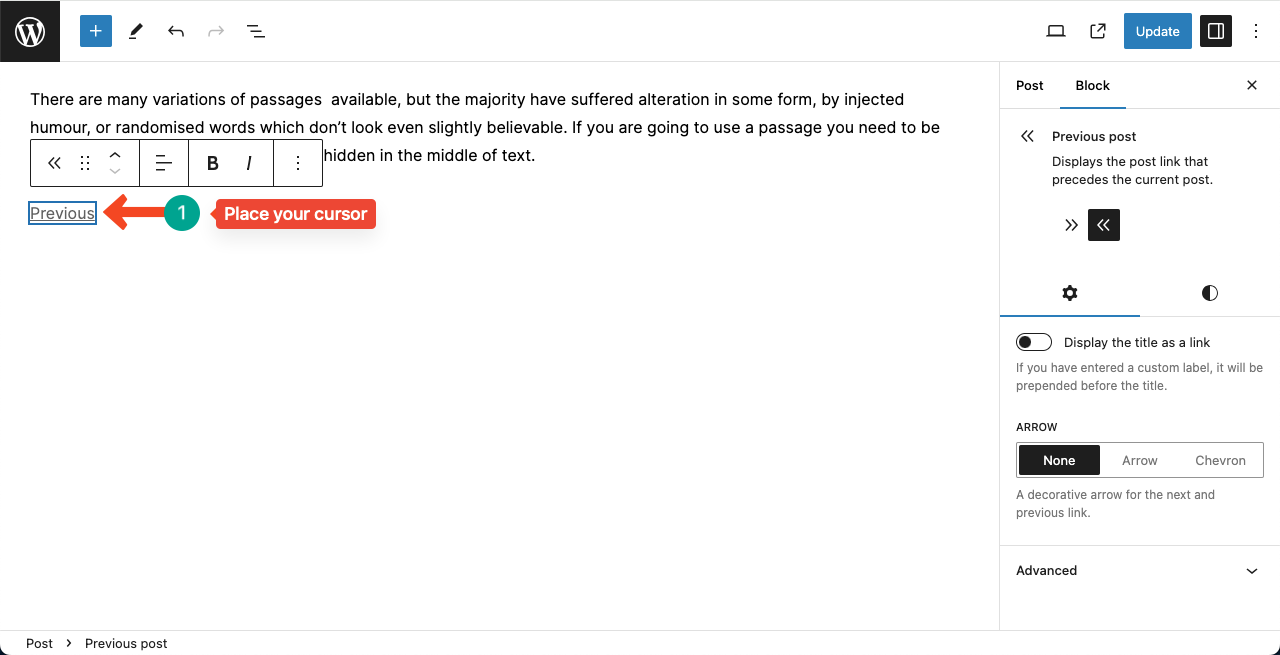
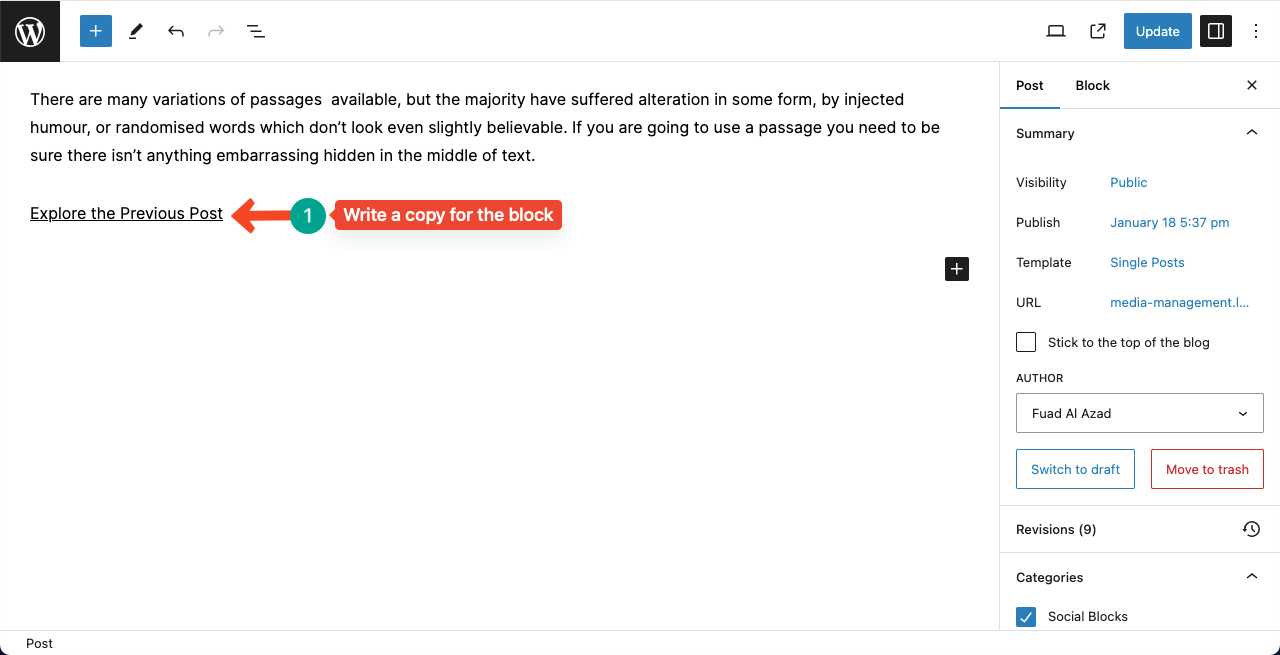
Place your cursor on the Next Post block and write a copy for the block.
You can see that I have written a copy for the WordPress Previous Post block.
Step 03: Configure Settings of the WordPress Next Post Block
Go to the Settings tab on the right sidebar. Toggle on the option ‘Display the title as a link’. This will add the text ‘An example title’ next to the Previous Post block’s copy.
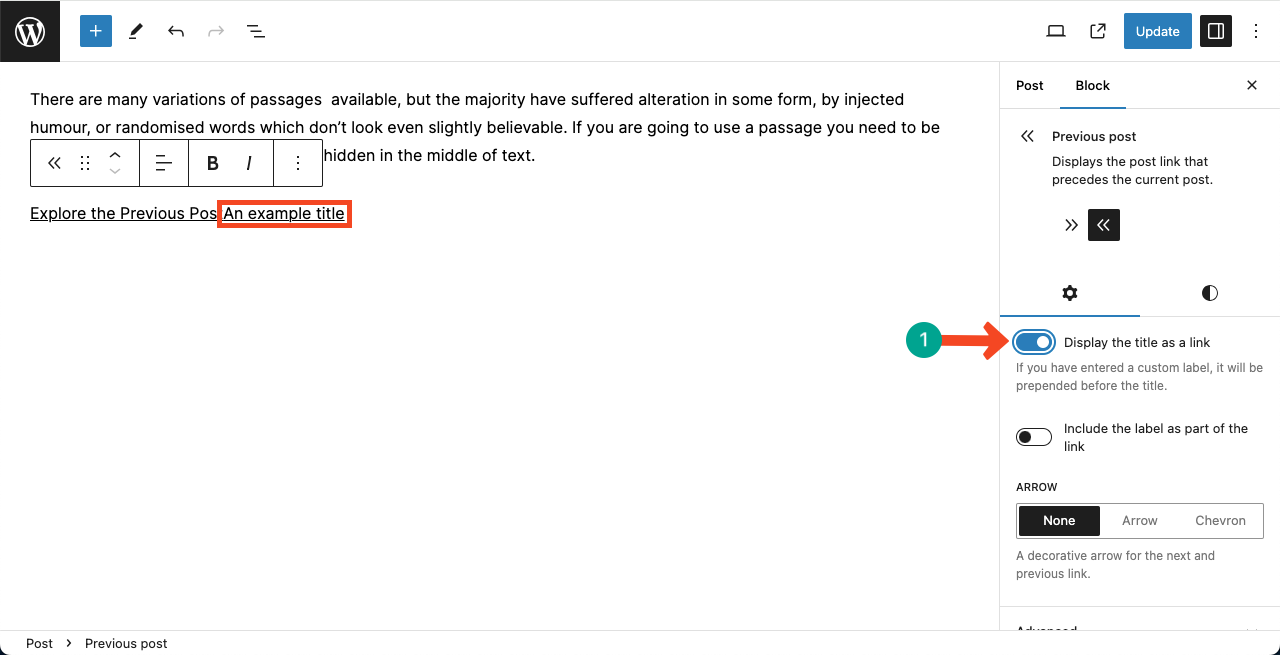
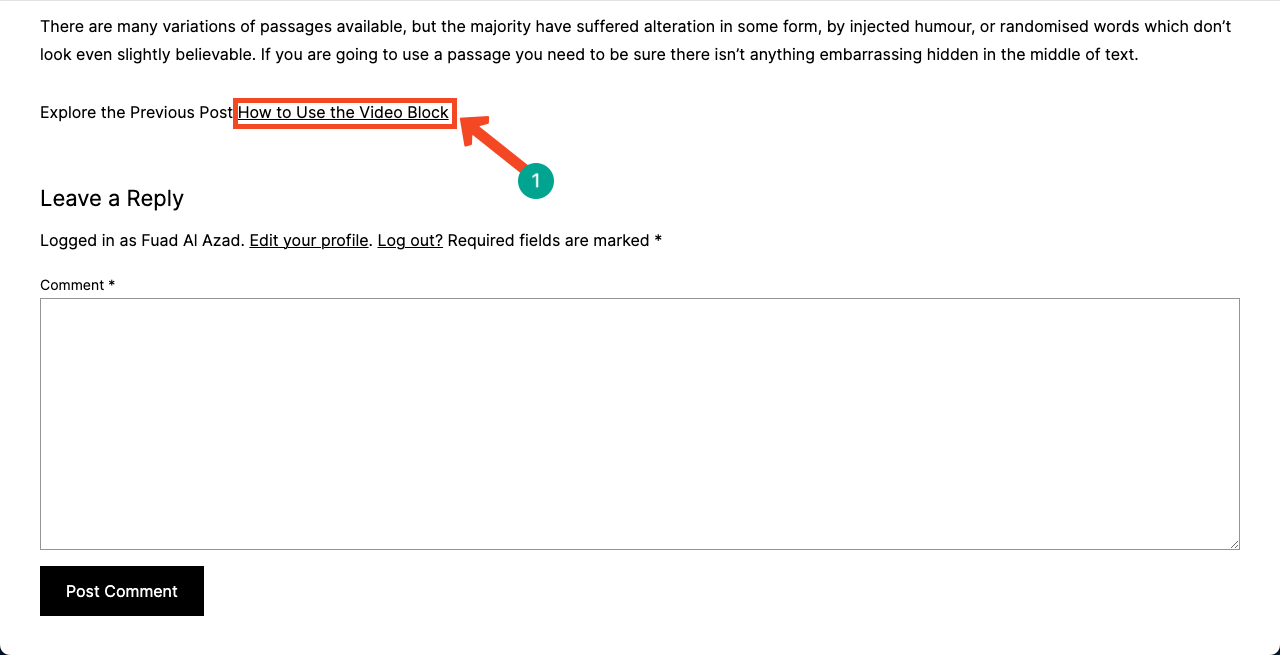
Toggling on the option will showcase the previous post name with a clickable link within the block. The blog post’s name will only be visible on the frontend.
From the Arrow section, you can add an arrow sign to the WordPress Next Post block.
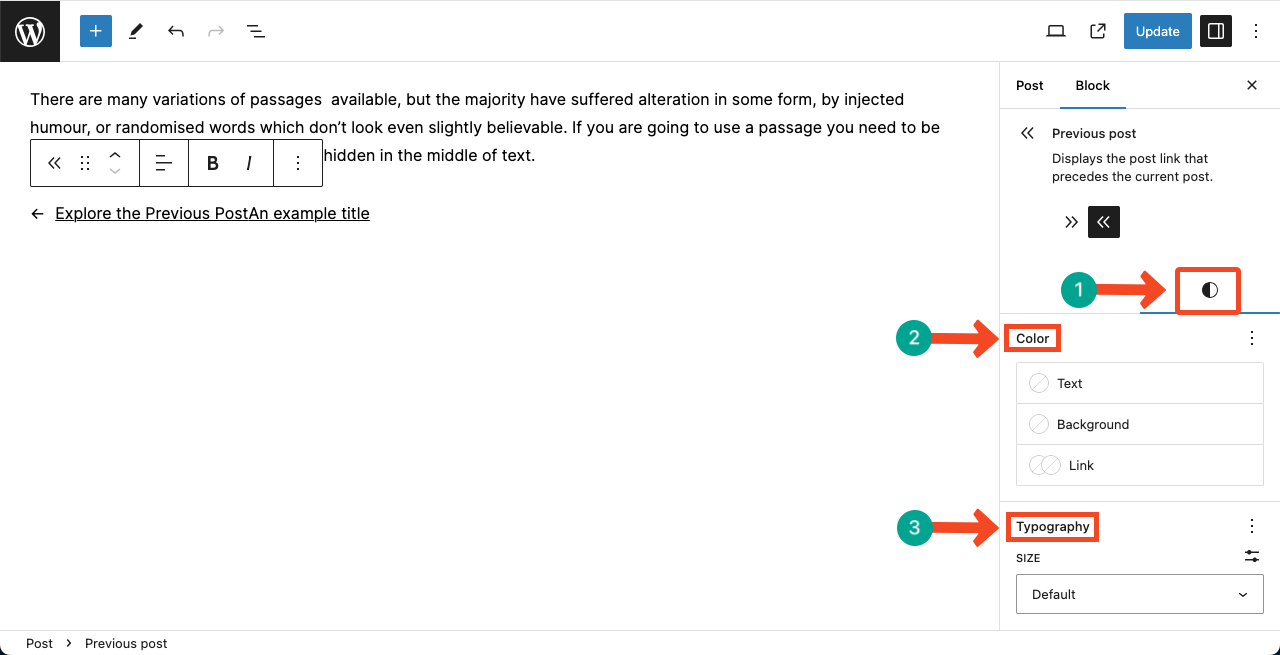
Step 04: Stylize the WordPress Next Post Block
Go to the Styles tab. Define the block’s text color, background color, link color, and typography.
By following these steps, you can add and use the WordPress Previous Post block in the Gutenberg editor.
Conclusion
The WordPress Next Post block in Gutenberg allows users to navigate through posts in a specific order. By adding this block to a post or page, readers can easily access the previous posts in the sequence.
Remember that if you add this block to a single blog post, it will not appear on other blog posts. To make the block appear on all posts, you need to add it to the single blog post template.
