
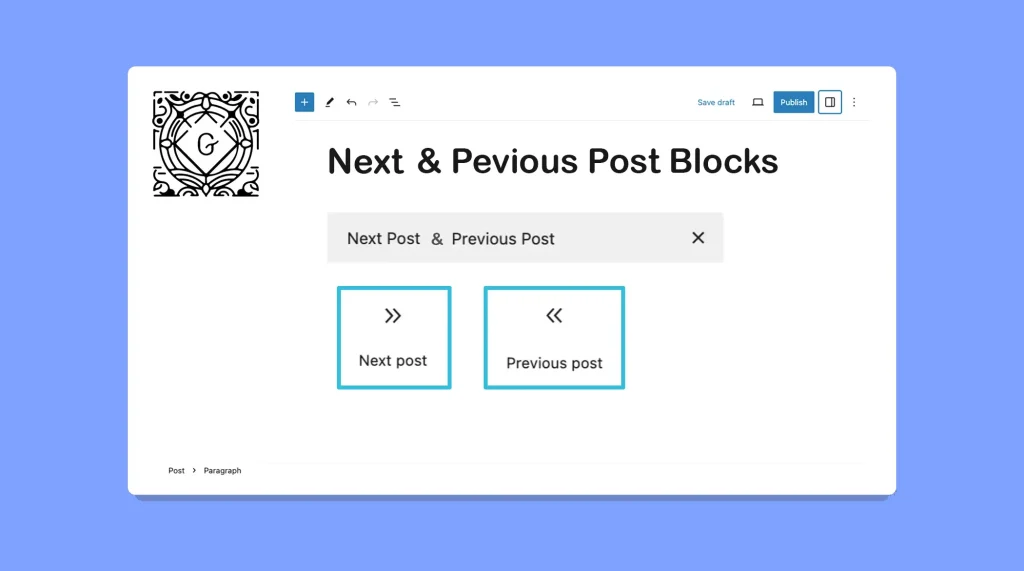
The Next and Previous Post blocks in WordPress can provide a seamless way for your visitors to navigate through your content. This can make it easier for them to explore the following and previous articles to continue their reading journey.
I have already covered two separate posts on how to use the WordPress Next Post block and how to use the WordPress Previous Post block on this website.
Today, I will show you how to add and use both the WordPress Next and Previous Post blocks in the same blog post. Let’s get started!
Step 01: Create a Layout to Display These Blocks Side by Side
As we add both these blocks together, we need to create a layout to display the blocks perfectly. It’s a good idea to display them at the end of a post and side by side.
With the Column block, you can create a useful layout to showcase these blocks side by side.
Find and add the Gutenberg Columns block to the post.
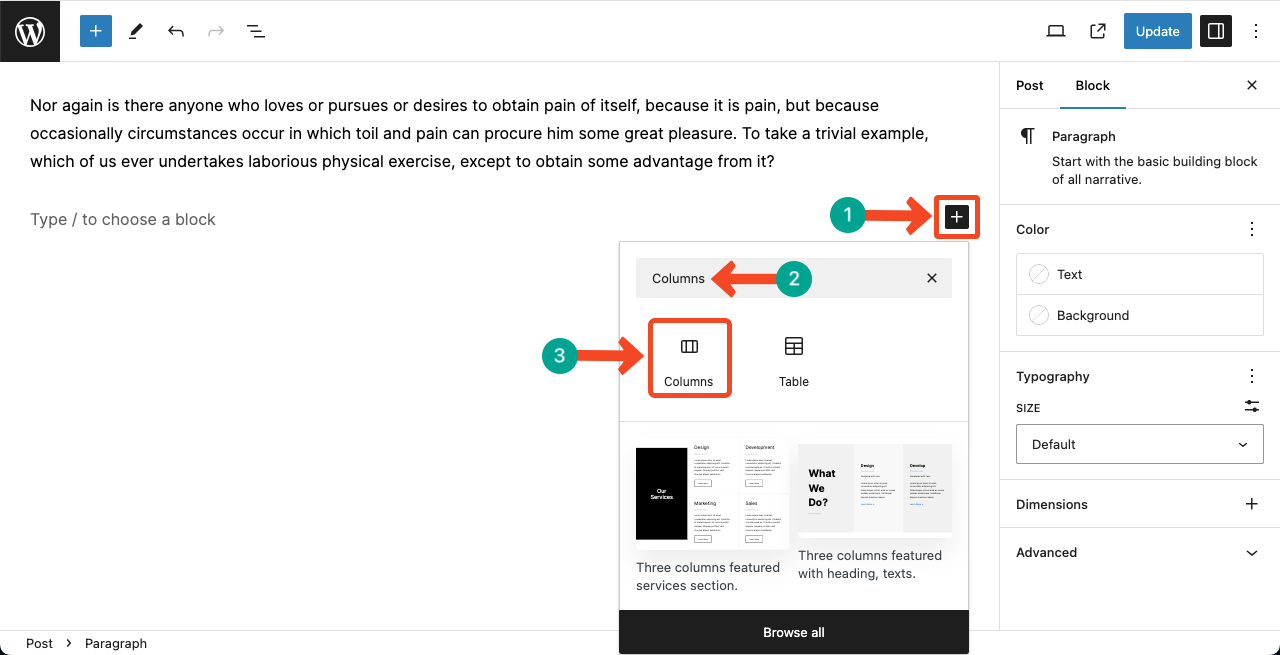
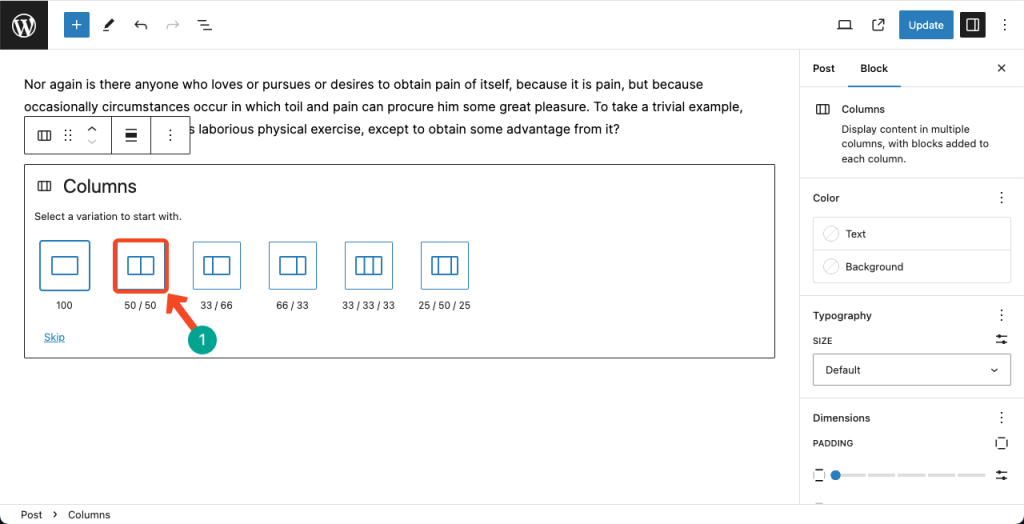
Select the two-column layout.
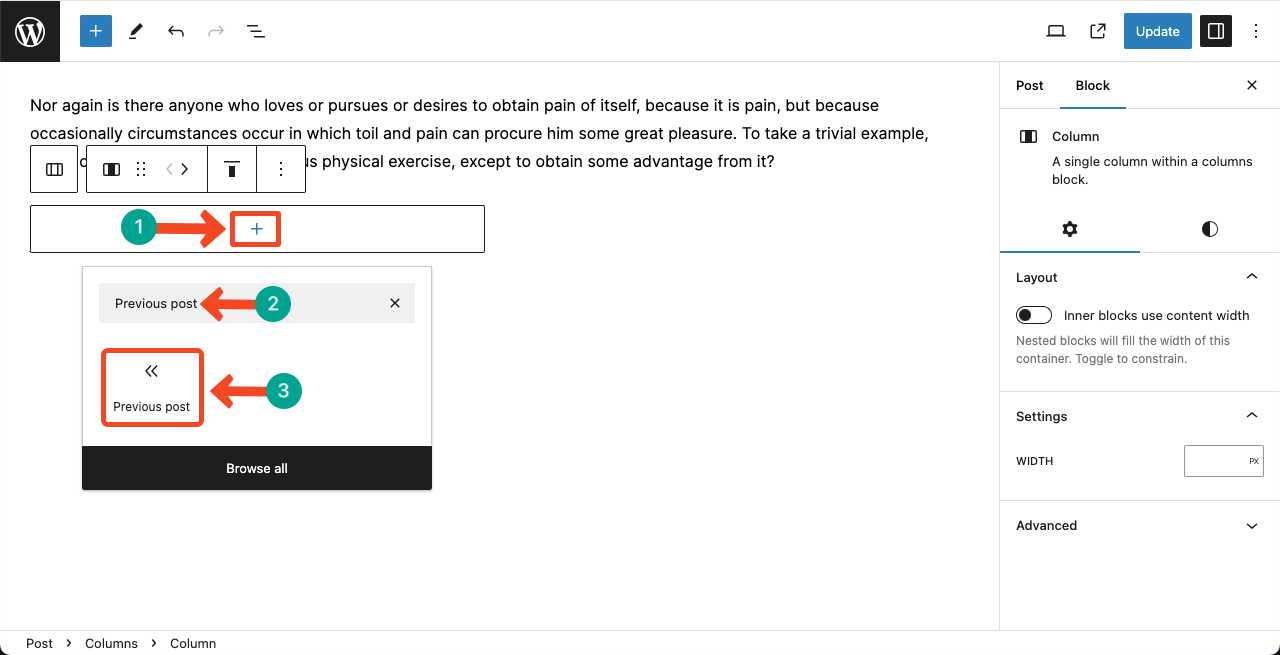
Step 02: Add the WordPress Previous Post Block on the Left Column
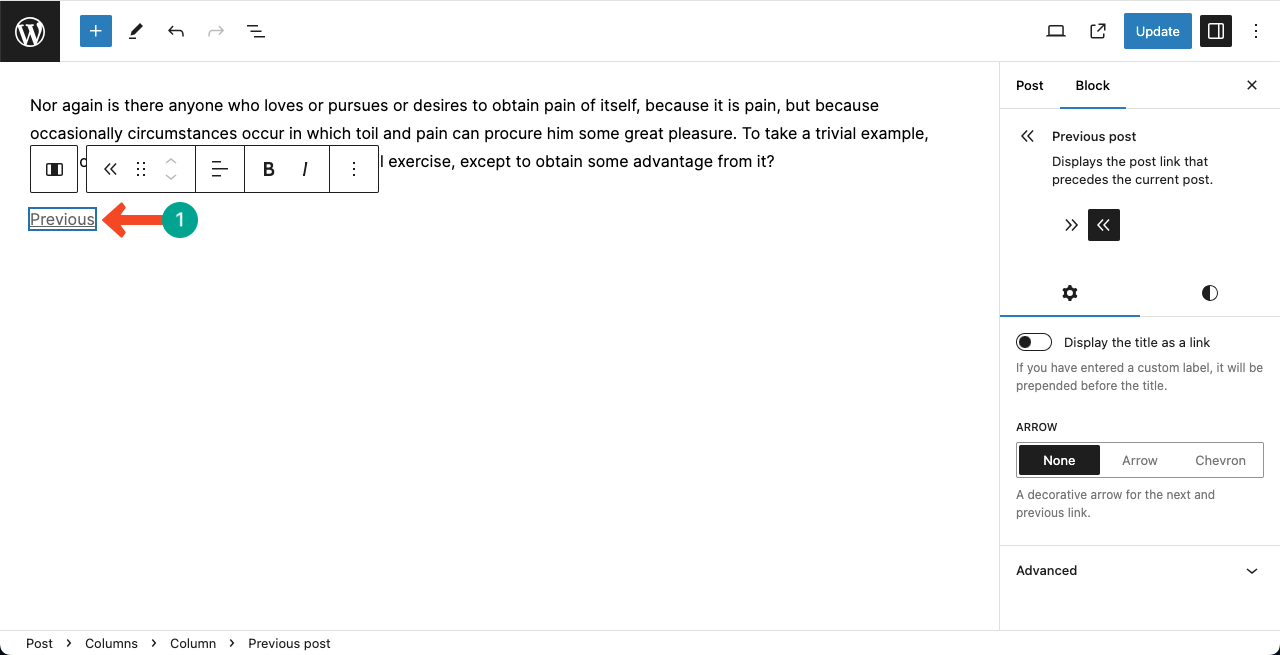
Logically, you must add the WordPress Previous Post block on the left side, meaning to the left column.
Click the plus (+) icon on the left column. Find the Previous Post block by typing it on the search bar.
Hit the block for adding it to the column.
# Add a Copy to Rename the Previous Post Block
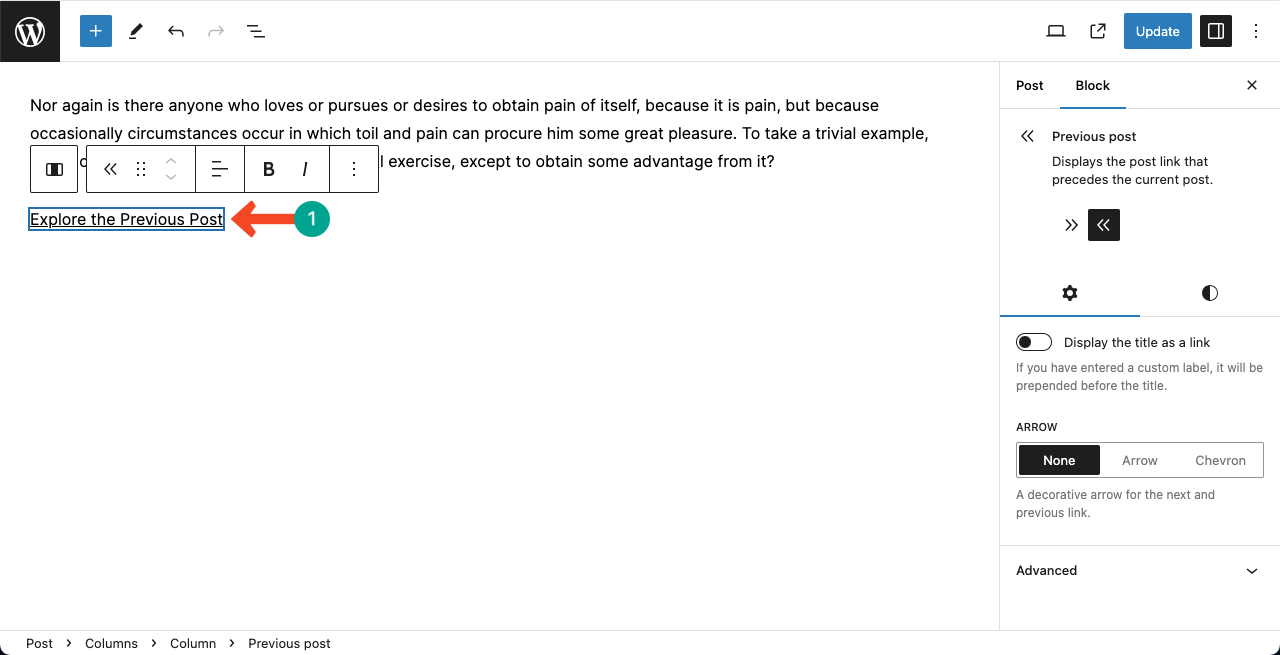
Place your cursor on the block. You’ll be allowed to write your desired copy to rename the block.
You can see that the Previous Post block has been renamed as ‘Explore the Previous Post.’
# Add an Arrow Sign to the Previous Post Block
Under the Settings tab, you’ll see the Arrow section. You can choose and add a suitable arrow to the block from here. Do it yourself.
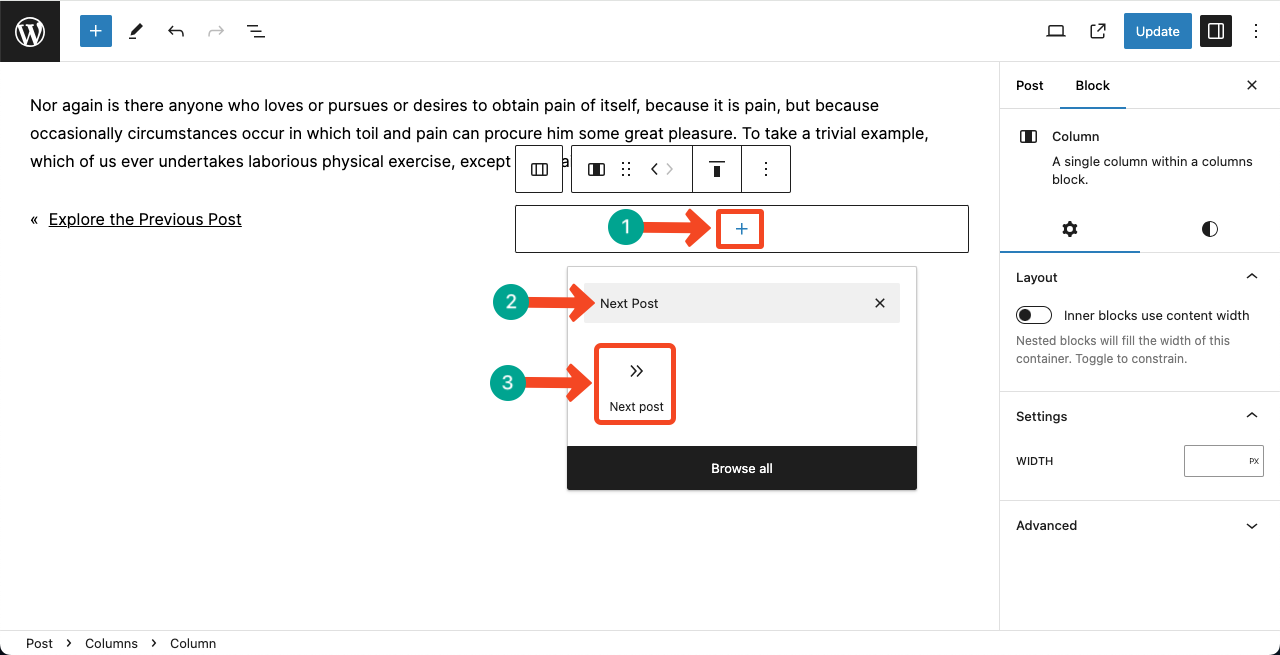
Step 03: Add the WordPress Next Post Block on the Right Column
In the same way, add the WordPress Next Post block to the right column.
You can see that we have renamed the block and added an arrow sign. We have done it following the same way we used for the Previous Post block.
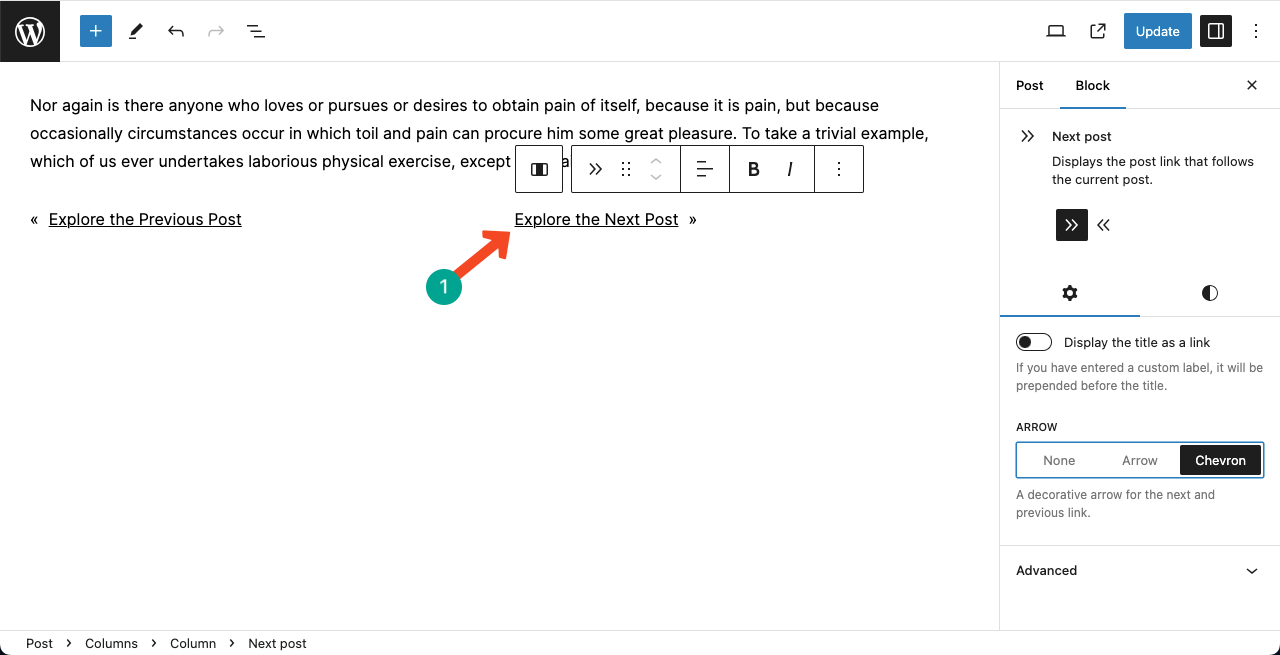
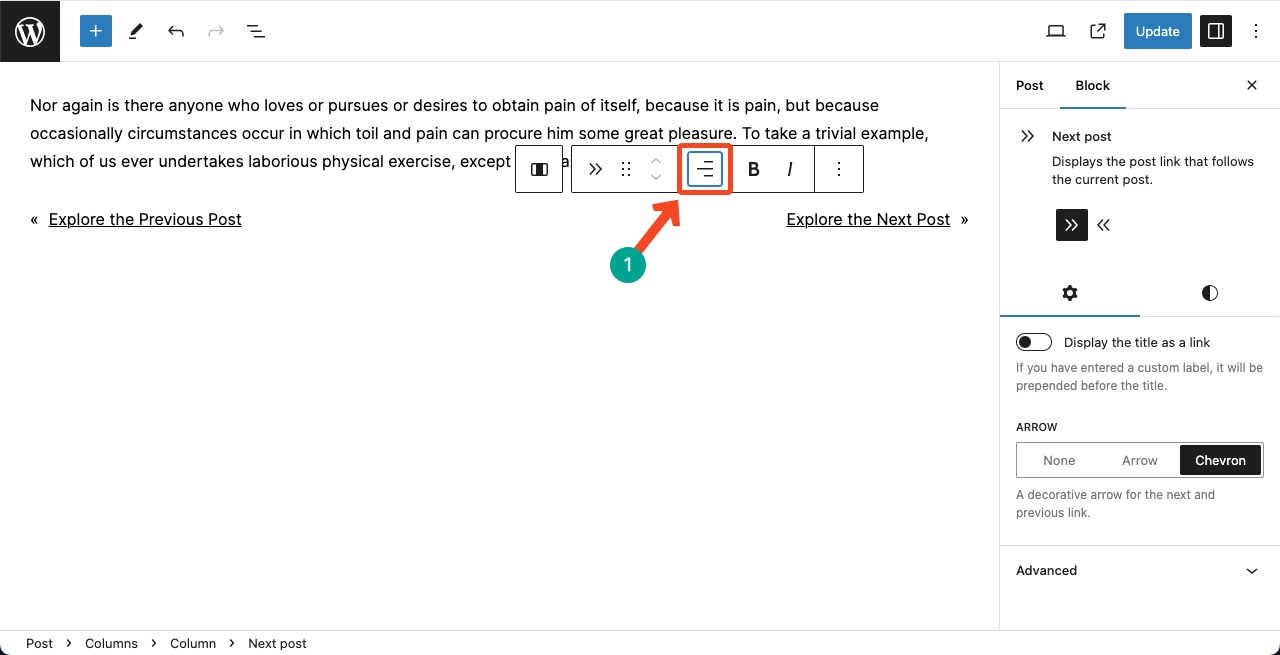
# Align the Next Post Block on the Right Border
Now, using the Alignment option on the Gutenberg toolbar, you can align the block perfectly on the right side of the border.
Next, you can stylize the blocks using options from the Styles tab on the right sidebar. Hope you can do them yourself.
Conclusion
Thus, you can easily incorporate the Previous and Next Post blocks on your WordPress website. Make sure to add these blocks on your single blog post template so they are displayed on all the blog posts you publish.
Adding them only to one post will show up them only on the respective post, not on all. If you have any questions regarding today’s topic, feel free to forward them to me anytime.
