
The Gutenberg editor comes with a default table block. You can create only basic-level tables on WordPress using the block. As it lacks numerous advanced features, you can’t curate complex tables to present information with it.
This is why you need an advanced table builder plugin whenever you think of creating comprehensive tables. Tableberg is such a wonderful feature-rich plugin that you can consider using in this case. This plugin is fully compatible with Gutenberg.
In today’s blog post, I will cover a detailed review of Tableberg, explaining why it’s a great WordPress and Gutenberg table plugin.
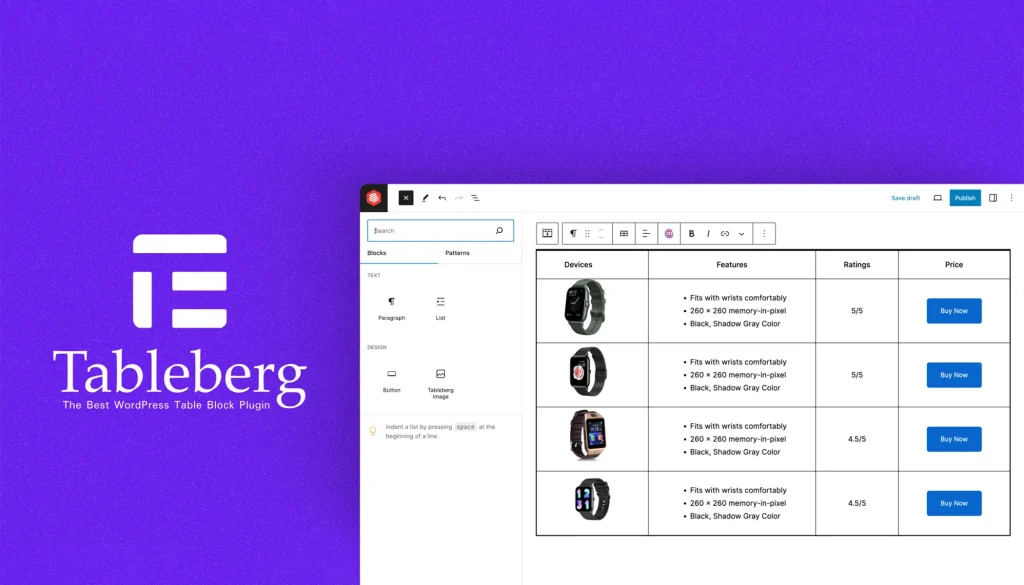
What Is the Tableberg Plugin?
Tableberg is a powerful block-based table builder plugin. With the plugin, you can create tables easily within the WordPress block editor. The process of using this plugin is almost similar to the default table block that comes with the Gutenberg block editor.
The plugin has a very simple interface which is equally easy and intuitive to beginner and experienced users. You can create various types of tables, like product comparison tables, pricing tables, feature listing tables, etc., with the plugin.
A standout feature of the plugin is that you can add various types of content like images, buttons, icons, ribbons, and ratings to the table through custom Gutenberg blocks. You can customize their appearance in the same way you customize any Gutenberg block.
Tableberg Review: Pros and Cons
Before diving deep into this review, let’s a quick tour of the pros and cons of the Tableberg plugin. This will make the rest write-up interesting to you.
Pros |
Cons |
|
|
Tableberg Review: Key Features
Tableberg has a collection of many exciting features why you must consider this plugin in your checklist. In this section, I will explain all these key features with a detailed discussion so you understand it’s a great WordPress table plugin.
1. Easy to Create Tables
As said before, the process of creating a table with the Tableberg plugin is similar to the default table block.
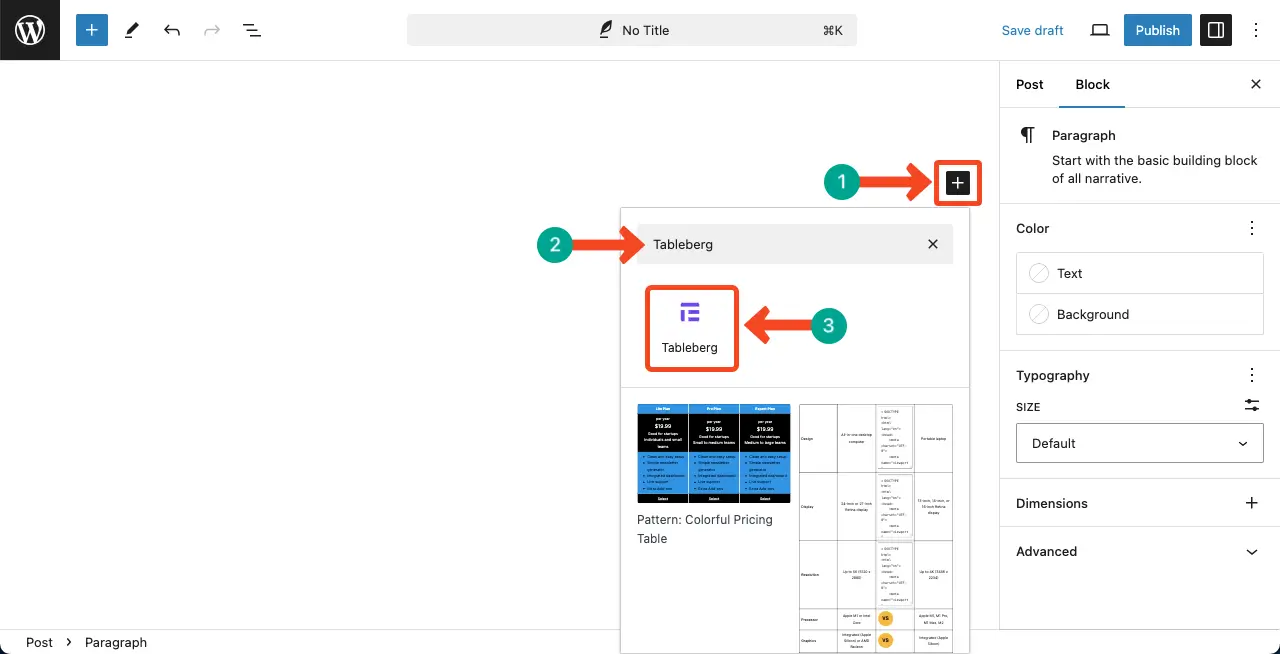
Just click the Gutenberg plus (+) icon on the editor. Type Tableberg in the search box. Hit the Tableberg block once it appears.
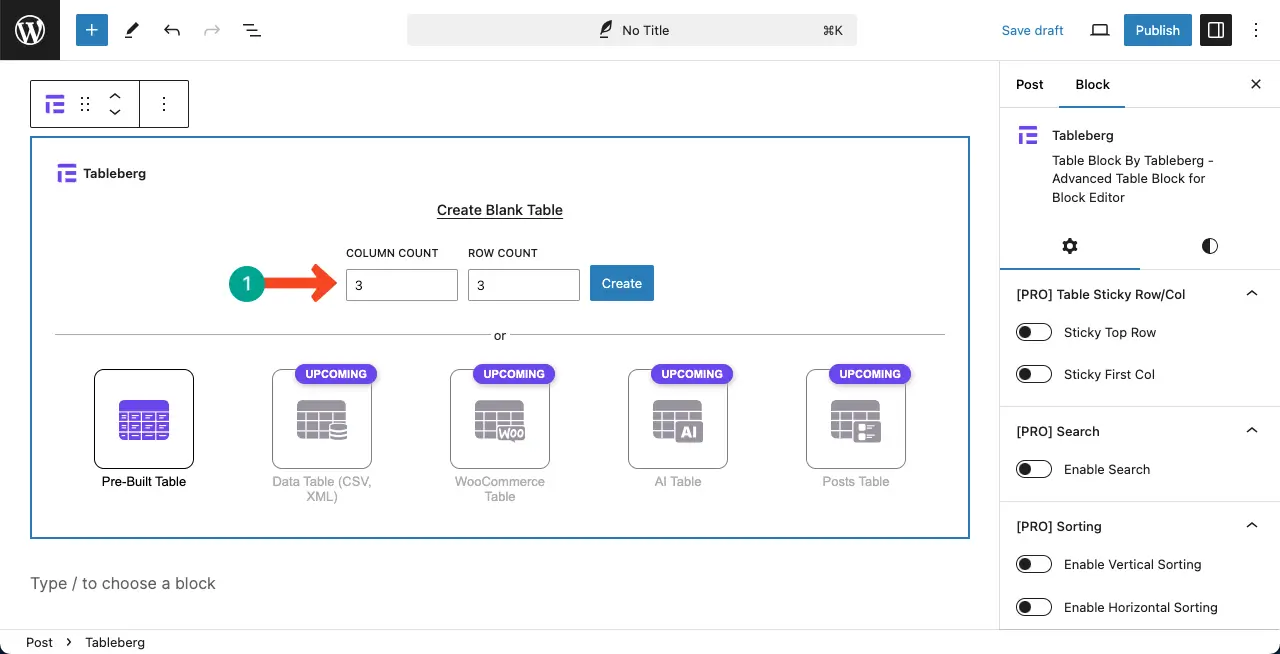
Set the number of rows and columns for the table. Hit the Create button after that.
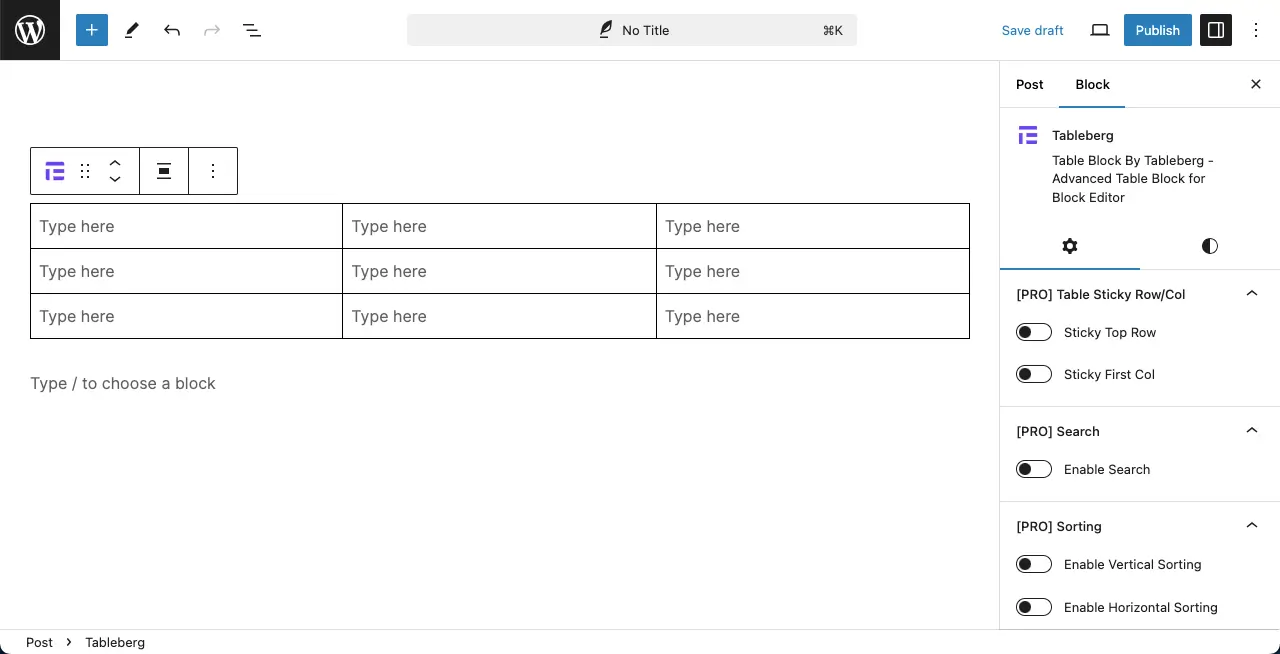
The table will be created in a few seconds. Now, it’s time to add content to the table.
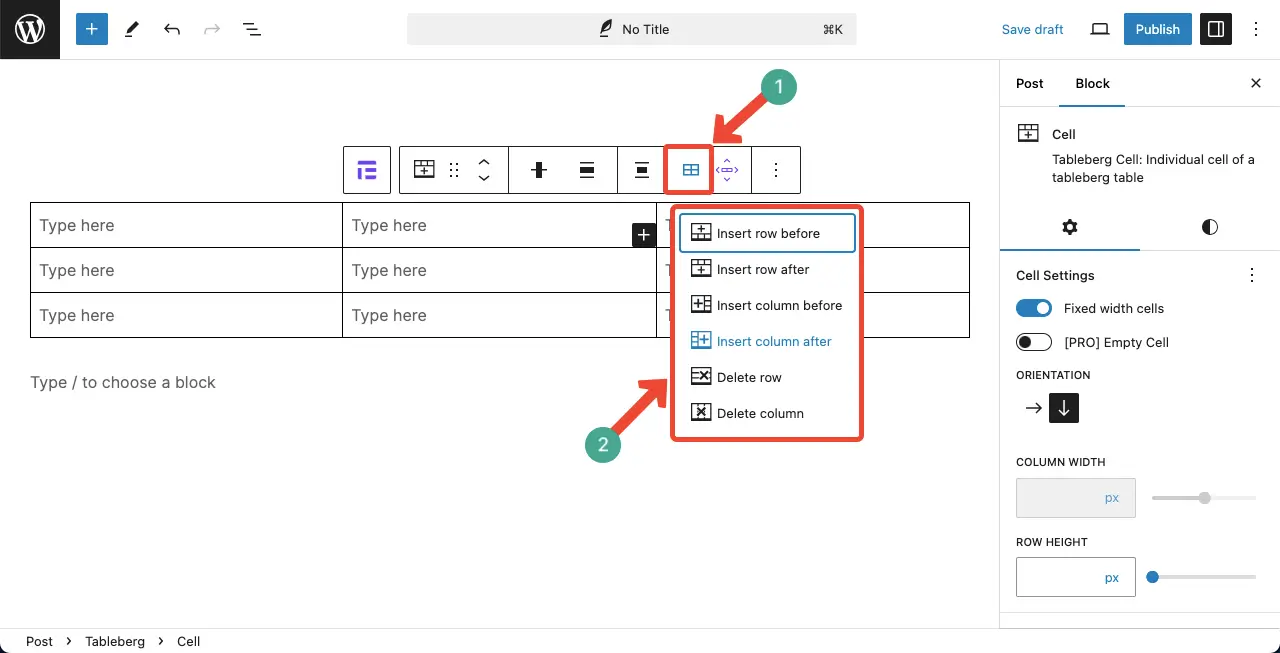
2. Arrange Rows and Columns
Although you can define the number of rows and columns at the beginning of creating the table, you can add new rows and columns anytime afterward to add new information.
Besides, you can delete any existing row or column if you want.
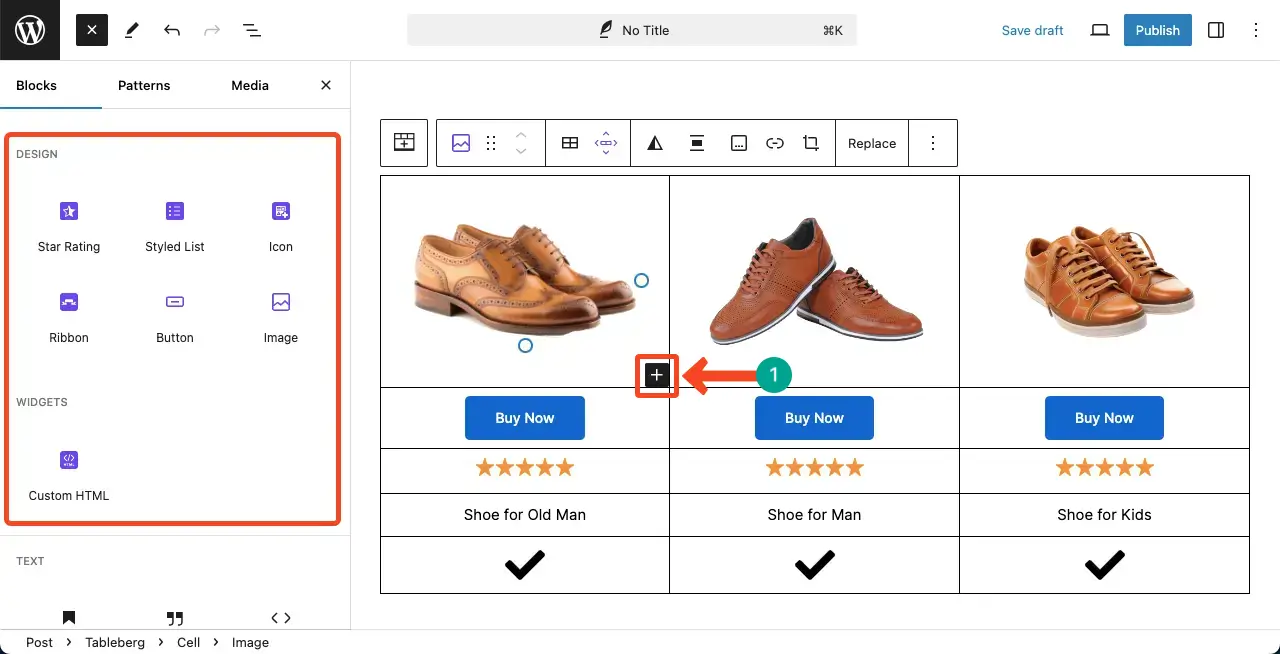
3. Add Content (Image, Button, List, Icon, Ribbon, etc.) to the Table
You can add different types of content to your table using the Tableberg plugin. You can add content like images, buttons, ribbons, icons, styled lists, star ratings, and custom HTML. Tableberg offers separate respective for each of these content types.
Like the Gutenberg block editor, you’ll see the plus (+) icon on the table cells. By clicking this plus (+) icon, you can select those blocks and add respective content.
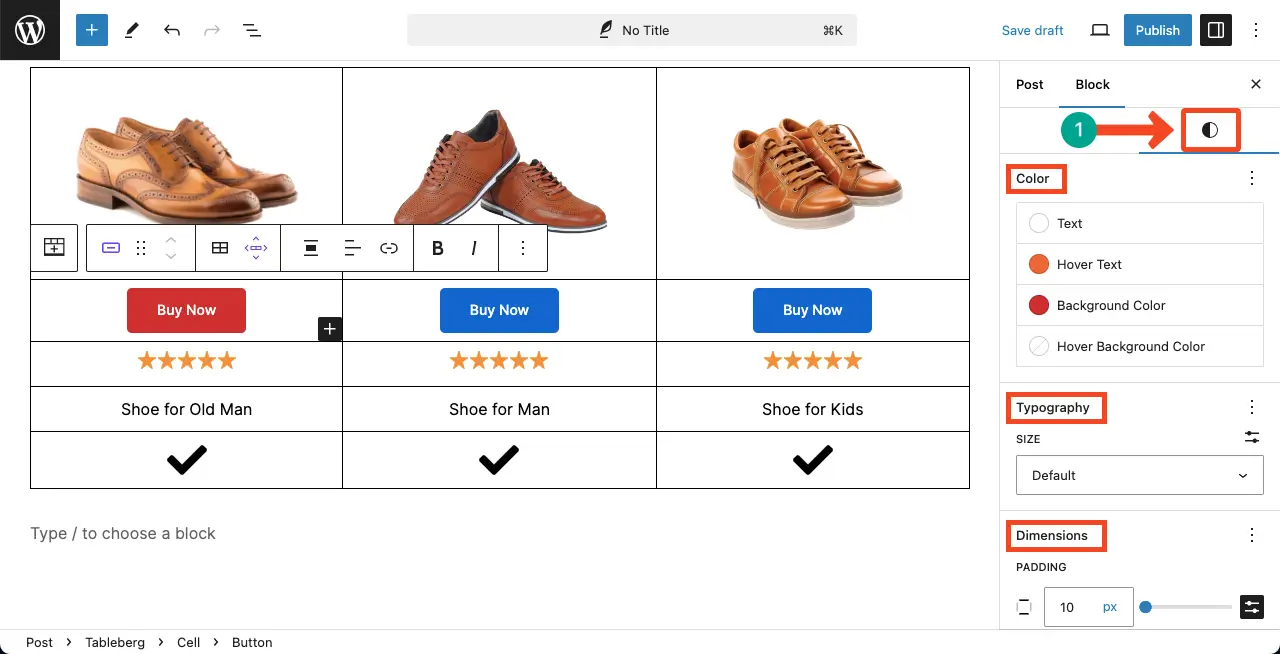
4. Customize the Content Blocks
Like any Gutenberg block, you can customize all the blocks coming with the Tableberg plugin. You can customize their color, typography, padding, margin, border, and more.
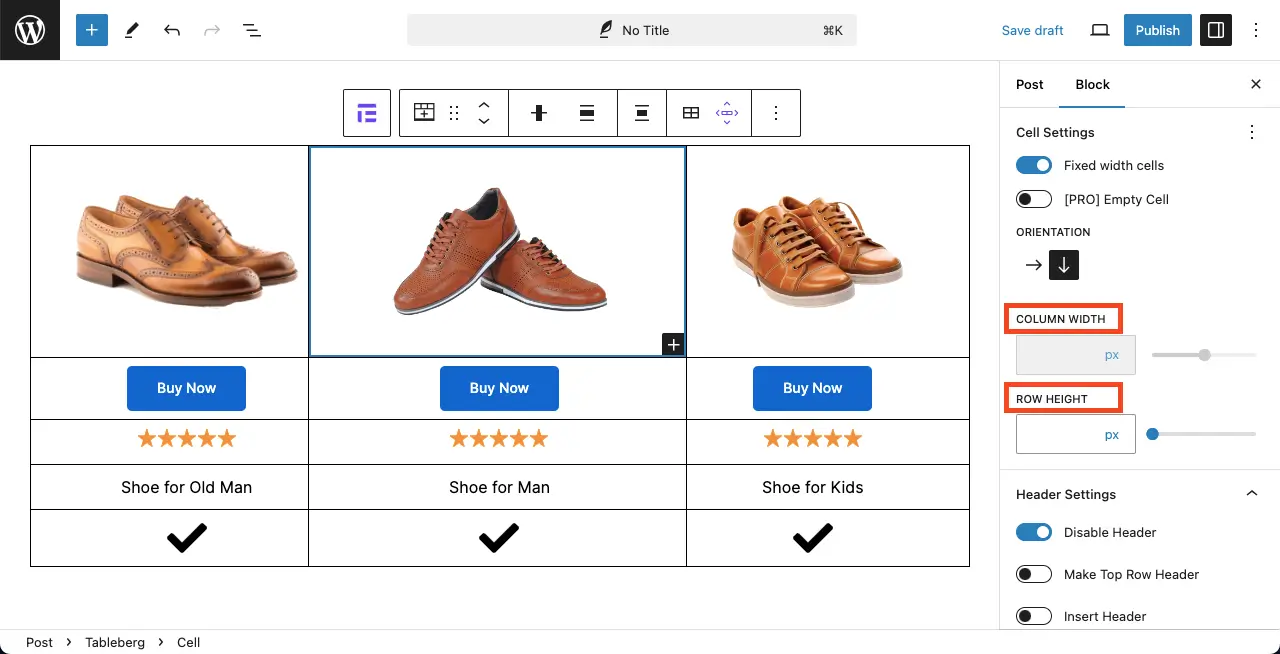
5. Change the Height and Width of the Rows and Columns
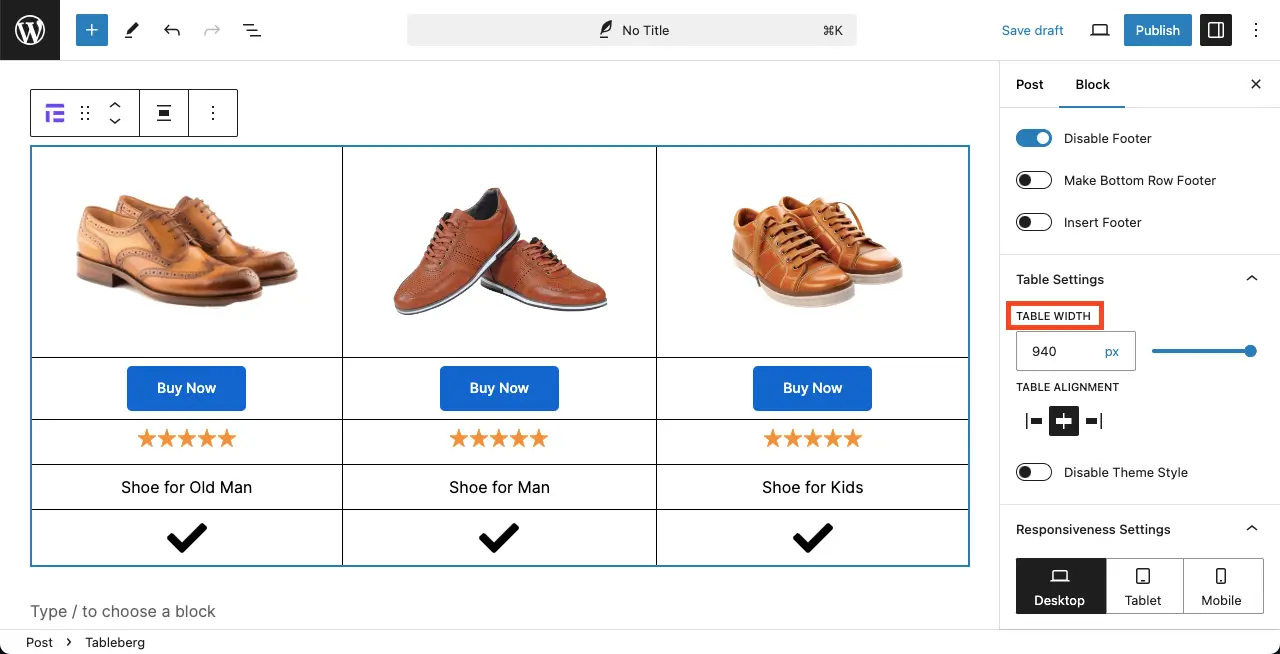
Select any cell or column. Under the Settings tab, you’ll see the Column Width and Row Height options. By setting suitable values, you can change the height and width of your table rows and columns.
Scrolling the Settings tab a bit more, you’ll get the Table Width option. Using it, you can modify your table width so it looks perfectly good on your web page.
6. Mobile Responsiveness
The Tableberg plugin is hundred-percent mobile responsive. You don’t have to customize your content for different devices. Because the plugin will automatically optimize the layout of your table for difference screen sizes. Yet, you can add breakpoints if you want.
7. Add Background Color
Go to the Styles tab. Immediately under the tab, you’ll get the color section from where you can add suitable background colors to the rows and columns of the table.

8. Make a Row/Column Sticky
Tableberg allows you to make the first row and column of your table sticky. This ensures the first row will always remain visible at the top and the column visible on any side of your screen.
You’ll find this option under the Settings tab of the plugin.

To explain how to sticky feature works, I have made a short video clip. I have enabled the first row of the table sticky.
See the video below. The first row always stays on top even if I scroll the table.
9. Add a Search Box
When your table is too long and filled with lots of information, adding a search bar can make it easy for users to quickly find the information they need.
You can add a search bar on top of your table with the Tableberg plugin. You can also select the position where to display this search bar.

10. Enable Sorting
By enabling the sorting option, you can allow users to rearrange the data on the table in ascending or descending order based on the values in respective rows and columns.

To explain, I have created a new dummy table. Then, I have enabled vertical sorting.
You can see a sorting icon has been added to the top row. By clicking the sorting icon, you can instantly rearrange the row order and information.
See the short video clip attached below.
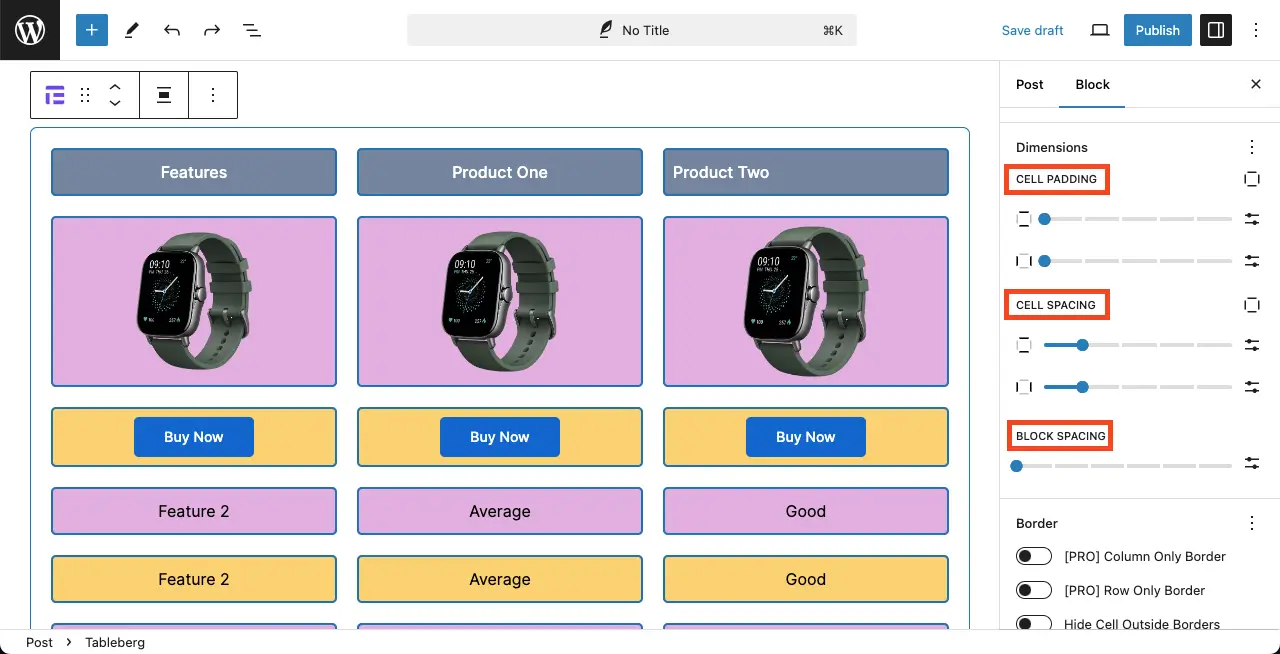
11. Add Cell Padding, Cell Spacing, and Block Spacing
Like the default Gutenberg block editor, you can add cell spacing, cell padding, and block spacing to the table. These options are available under the Styles tab.
12. Hide/Display Cell Border, Row Border, and Column Border
For advanced stylization of your table, you can hide/display the cell border, row border, and column border that best suits your table.
You’ll get these options under the Styles tab.
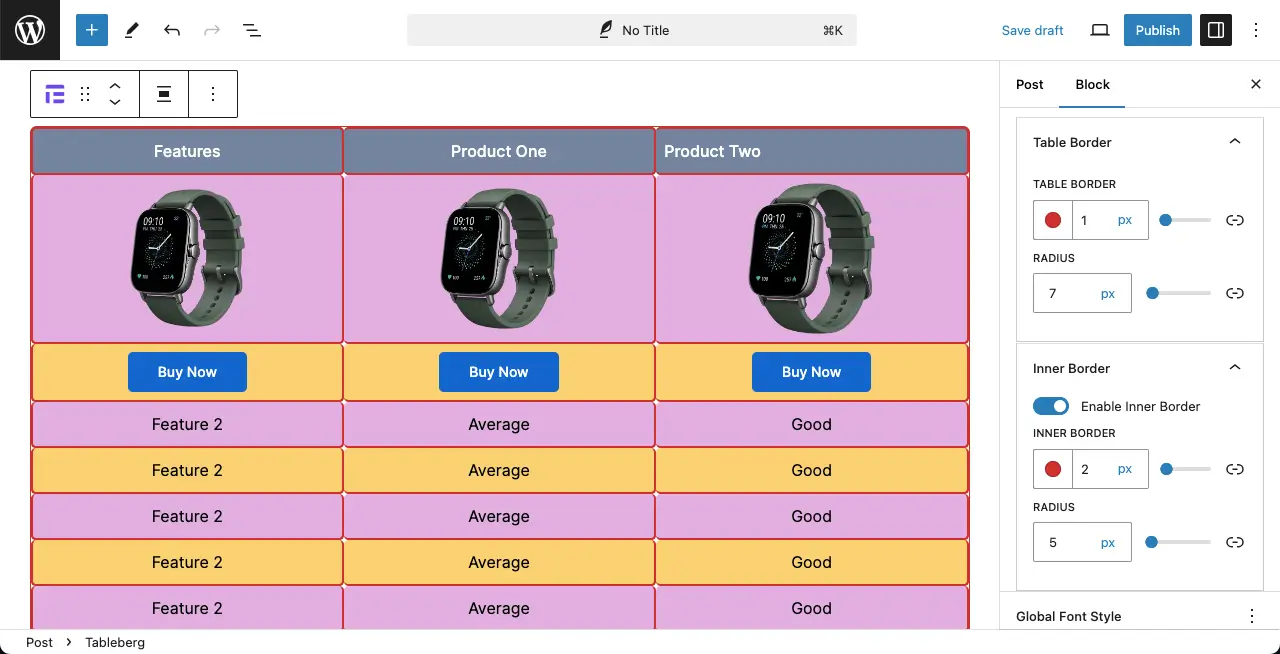
13. Set the Inner & Outer Border
Tableberg has another fine feature. You can set colors for the inner border and outer border separately. You can also define the thickness and radius for the inner and outer borders of the table.
You can see the table below, I have selected the red color for the inner and outer borders of the table.
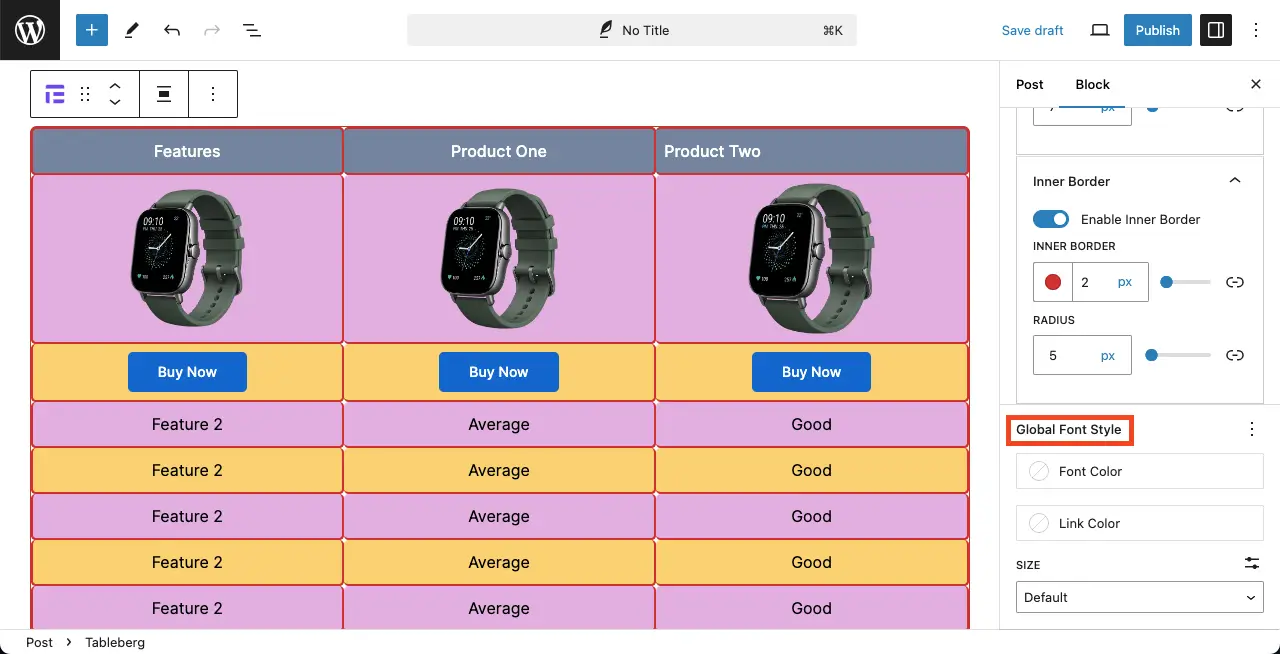
14. Global Settings
What you can do in Global Settings is to set the font color, link color, and font size. Once it is set, whatever you write in the table will be displayed according to this set color and font size.
This option is available at the end of the Styles tab.
15. Other Features
In addition to all these, Tableberg covers many more exciting features as well. You can set cell background colors separately, row/column background colors individually, define the content orientation, enable/disable the header and footer, etc.
Hope you can explore them alone. Tableberg is working on releasing some more exciting features that can take your table-building experience to the next level. As soon as the plugin releases those features, I will them in this post.
Pricing of the Tableberg Plugin
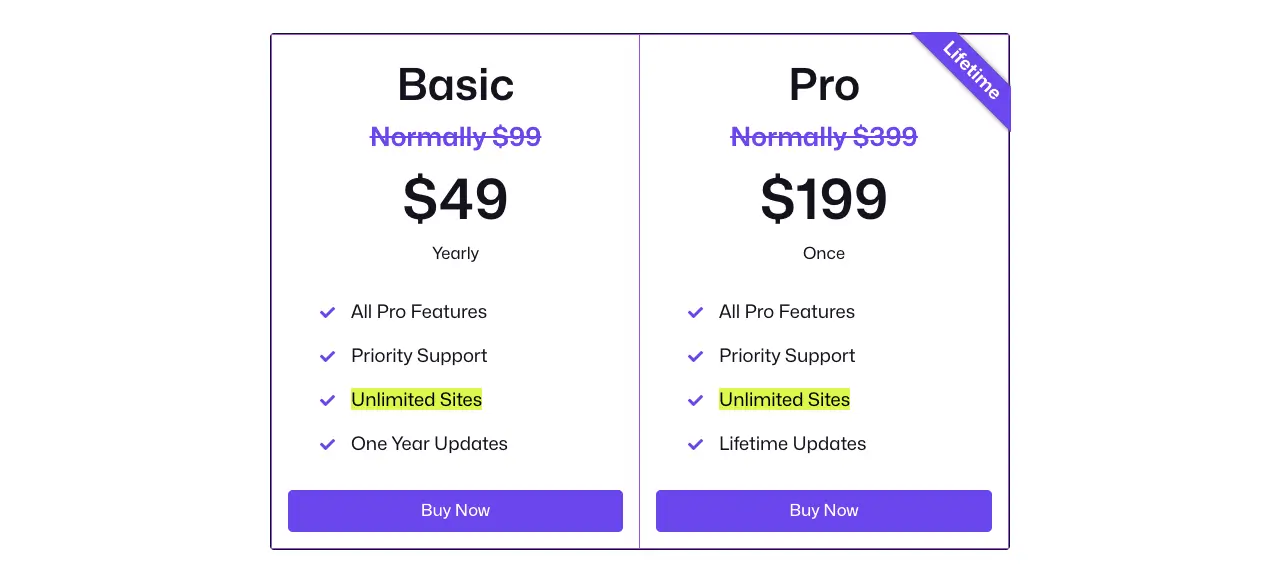
Tableberg currently has two pricing plans: Basic and Pro. The Basic is a yearly plan and the Pro is a lifetime plan. Check below what they cover.
- Basic Plan – It charges $49/yearly for unlimited websites.
- Pro Plan – It charges $199/lifetime for unlimited websites.
Tableberg has a 14-day refund policy. If you ever face any problem within this period, you can claim to get the money back within this time.
Conclusion
Tableberg provides support to its premium users through comprehensive documentation and email. You can also contact them by submitting forms through the contact page.
Hope you’ll have a wonderful journey with the Tableberg plugin. If there is any query you have regarding the plugin, you can submit your questions below through the comment box. I will get back to you with an informative answer very soon.
