Social icons in WordPress are graphical representations of social media platforms that are used to link to your social media profiles. These icons are typically displayed on your website, allowing visitors to easily navigate to your social media accounts and engage with your content.
Social icons are better than plain links because they are easily recognizable. I will show you how to add social icon to WordPress in this tutorial article.
Step 01: Select a Suitable Position to Place the WordPress Social Icon Block
Social icons are usually displayed on the sidebar, at the end of posts/pages, on the header, or in the footer. Wherever you add, the process of adding the block to your website is almost the same. For this tutorial, we’ll add the block at the end of our post.
Step 02: Add the Social Icon block to the position
Click the Gutenberg plus (+) sign. Find the block by typing ‘social icon’ in the search box. Once the block appears, add it to position by clicking it.
Step 03: Start Adding Your Desired Icons
The block comes with an additional plus (+) sign. Click the sign.
An icon library will appear similar to the block library. Type your desired social icon’s name in the search box to find it quickly.
For example, we have typed ‘Facebook’ in the search box. The respective icon appears immediately. Click to add it to the position.
Click the icon after it’s added to the position. Your click will open a box where you can copy-paste the exact profile link of the respective social icon. Hit the enter button to completely linking the icon.
Step 04: Add More Social Icons
Click anywhere on the block area. The plus (+) button will appear again. Add icons one by one the same way.
Step 05: Customize the WordPress Social Icon Block
Select the block again by clicking anywhere on it. Go to the settings tab. Align the block on the page where you want. We have aligned it centrally from the Justification option.
You may define its orientation, whether horizontally or vertically. To open the link in a new tab, toggle on the option Open links in new tab.
Toggle on the Show labels option to display labels with the social icons. This can make these icons readable to users.
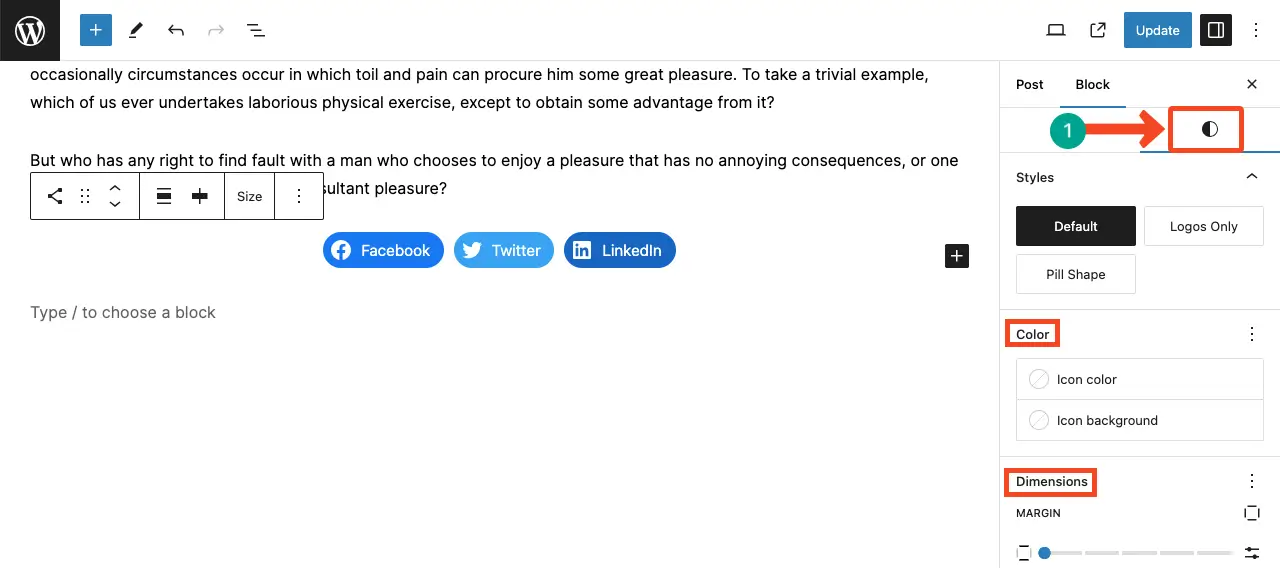
Step 06: Stylize the WordPress Social Icon Block
Next, come to the Styles tab. You can customize the social icon color, icon background, and dimensions of the block.
Thus, you can perfectly utimize the WordPress Social Icon block. Take a look at how to use the WordPress RSS block and where to use it.
Conclusion
There are several points to remember to harness the best from this block. It is essential to choose the right social media platforms to display on your website. Focus on the platforms that are most relevant to your target audience and business goals.
Make sure that the icons align with your website’s branding and design. You can customize the size, color, and shape of the icons to create a cohesive and visually appealing look that complements your overall website aesthetic.
Consider the placement of the social icons on your website. It’s important to strike a balance between visibility and usability. Placing the icons in a prominent location, such as the header or sidebar, ensures that visitors can easily find and click on them.