By incorporating avatars, website owners can make it easier for visitors to identify and connect with authors. Avatars provide a visual representation of the person behind the content, helping to establish a sense of familiarity and trust.
It helps you build authority on your content so visitors and users can have trust in your writing. In this article, I will show you a step-by-step guide, including best practices on how to add and use the Gutenberg Avatar block in WordPress.
What is the Gutenberg Avatar Block in WordPress?
The Avatar block allows you to display the user and author pictures on posts, pages, or templates. It is commonly used to showcase the author’s avatar in the single post template, creating a more personalized and engaging experience for readers.
With the Avatar block, you can easily add and customize avatars within the Gutenberg editor. You have the option to select an image, adjust the size, and align the avatar according to your preferences. You can select an image, adjust the size, and align the avatar according to your preferences.
How to Use the Gutenberg Avatar Block in WordPress
First, you have to create a user profile or configure the existing profile integrating a picture. If the user account doesn’t have a picture, the Avatar block won’t show it. Explore the steps explained in the following sections.
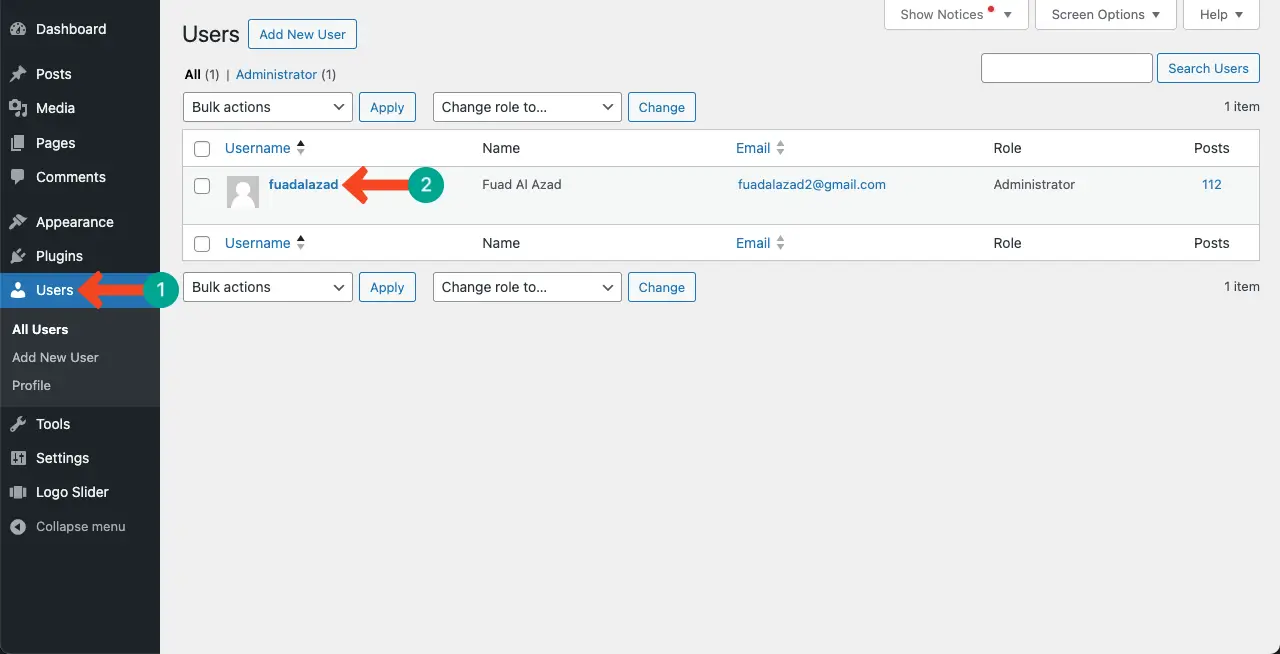
Step 01: Add an Image to Your User Profile
Go to WP Dashboard > Users.
You’ll get a default user with the name you used while creating your site. As my site’s name is Fuad Al Azad, the default user name is also the same.
To create a new user, click the Add New User button.
Or, click the existing user name to add an image to it.
Come to the Profile Picture section scrolling down the user page.
Click the link You can change your profile picture on Gravatar.
Create an account in Gravatar. Log into it after that. Upload an image to your account. This image will automatically be set as the avatar for the user account.
Upload a new image and update information on the respective fields in the Gravatar account. Hope you can do these yourself. Click the Save changes button at the end.
Come to the user page again. You can see that the image for the user avatar has been changed.
Step 02: Add the Avatar Block to a Post/Page
Find the Avatar block in the block library by clicking the plus (+) button on the editor.
Once the block is added, you can see that it’s coming with the user image (your photo).
Step 03: Customize Settings of the Gutenberg Avatar Block
You’ll see two circular icons on two sides of the image. Clicking them, you increase the size of the avatar. You can also change its size by placing a value on the image size box on the right sidebar.
Enabling the List to user profile option, you can direct users to your profile page whenever they click on the avatar. Toggle off it if you don’t want to redirect them.
From the User option, you can select and change the user for the avatar. Once an user is changed, the avatar photo will also change.
Thus, you can add and use the Gutenberg avatar block in WordPress. Explore how to use the WordPress Posts List block in the Gutenberg editor.
Tips and Guides for the Gutenberg Avatar Block in WordPress
I have figured out several best tips and best practices by which you can make your avatar section captivating and make your content more trustworthy for web visitors and users. They are:
1. Choose a Relevant and High-Quality Avatar
Select an avatar that represents you or your brand effectively. It should be clear, visually appealing, and relevant to your website’s content or purpose.
2. Consider Avatar Placement
Think about where the avatar will be displayed on your website. The most common placement is in the single post template, where it represents the author of the post. Ensure that the avatar is positioned prominently and doesn’t interfere with the readability of the content.
3. Customize Avatar Size and Alignment
Use the customization options available in the Avatar block to adjust the size and alignment of the avatar. Experiment with different settings to find the optimal size and alignment that complements your website’s design.
4. Optimize for Responsiveness
Test the appearance of avatars on different devices and screen sizes to ensure they are displayed correctly. Consider using responsive design techniques to adapt the avatar’s size and alignment based on the user’s device.
5. Explore Additional Plugins
Consider using plugins like Author Avatars List/Block, which provide additional functionality and customization options for displaying avatars. These plugins can enhance the overall avatar experience on your website.
Conclusion
You’ll find numerous Gutenberg block plugins online offering you more advanced avatar blocks. You can create further captivating avatar sections for your website using them. I will try to explore and explain some of them in my future blog posts.
But don’t forget to let me know if you have loved this present piece. In my future posts, I will also try to cover how to add and display your personal information alongside the avatar block in the same row. Let me know if you really want those tutorials from me.
Thanks in advance for your suggestion. Have a nice and happy WordPressing.