Videos have become an integral part of online contention today. They allow us to share audio-visual stories to convey messages in a captivating and dynamic way. What a one-minute video can convey may often require thousands of words to describe.
Today, video files are used not only for conveying messages but also in product promotion, showcasing explanatory tutorials, and broadcasting important notices. WordPress offers several simple and intuitive ways to upload videos on its posts, pages, and media library.
In this article, I will show you how to upload a video to WordPress with a detailed step-by-step guide. Let’s begin!
What Is a Video File?
A video is a digital file that holds audio and visual data. It allows you to share stories, demonstrate concepts, and captivate audiences through moving images and sound. WordPress allows you to upload video files in various formats.
the officially supported video file formats in WordPress include MP4, M4V, WebM, OGV, WMV, and FLV. These formats are widely compatible with different browsers and devices, ensuring that your videos can be viewed by a wide audience.
How to Upload a Video to WordPress
You can upload video files to WordPress either to the WordPress Media Library or add them directly to the posts and pages via the Gutenberg editor. I will explain these two methods in this section.
Method 01: How to Upload a Video to WordPress Media Library
This method is almost the same as how to upload an image to the WordPress Media Library. Follow the steps explained below.
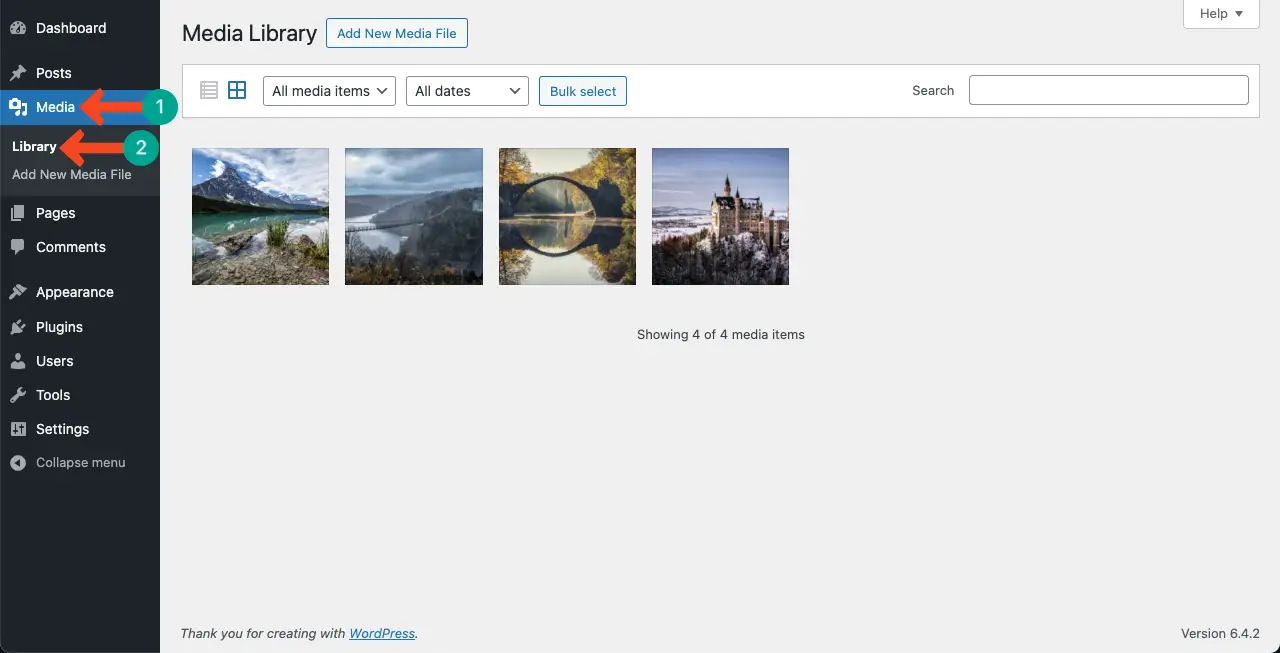
Step 01: Go to Your WordPress Media Library
Log into your WordPress Dashboard. Navigate to Media > Library.
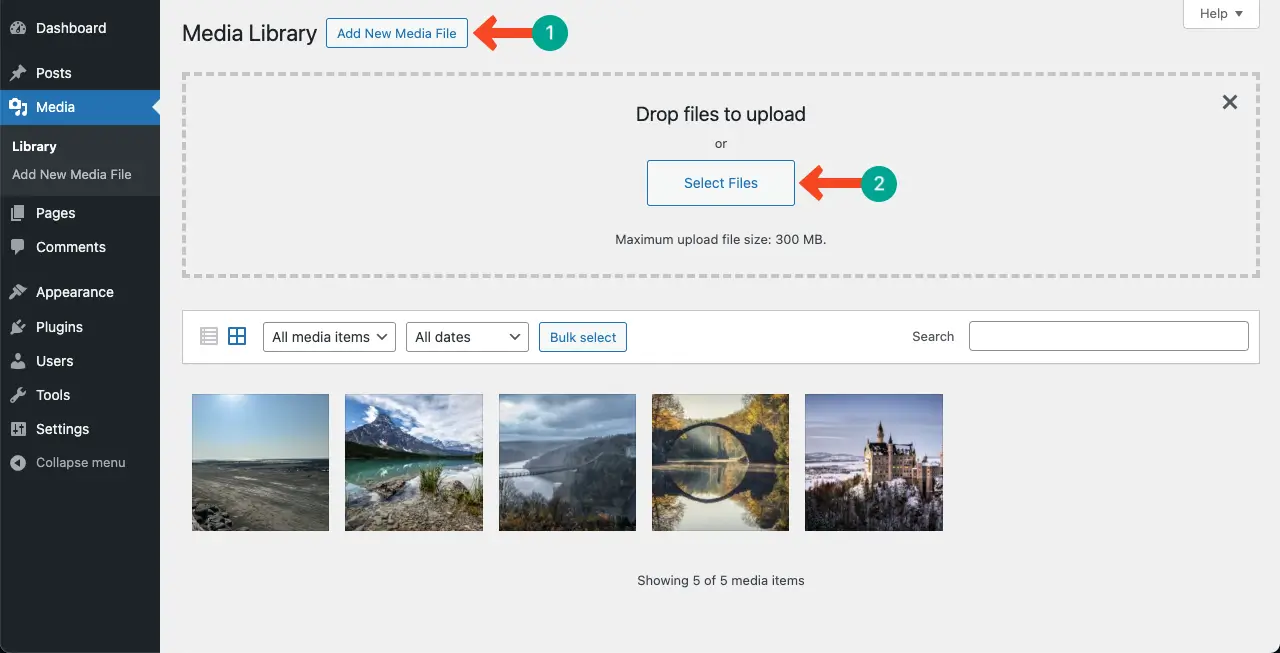
Step 02: Start Adding a Video File
Click the Add New Media File button. This will open a new section for dropping or uploading new files. Hit the button Select Files.
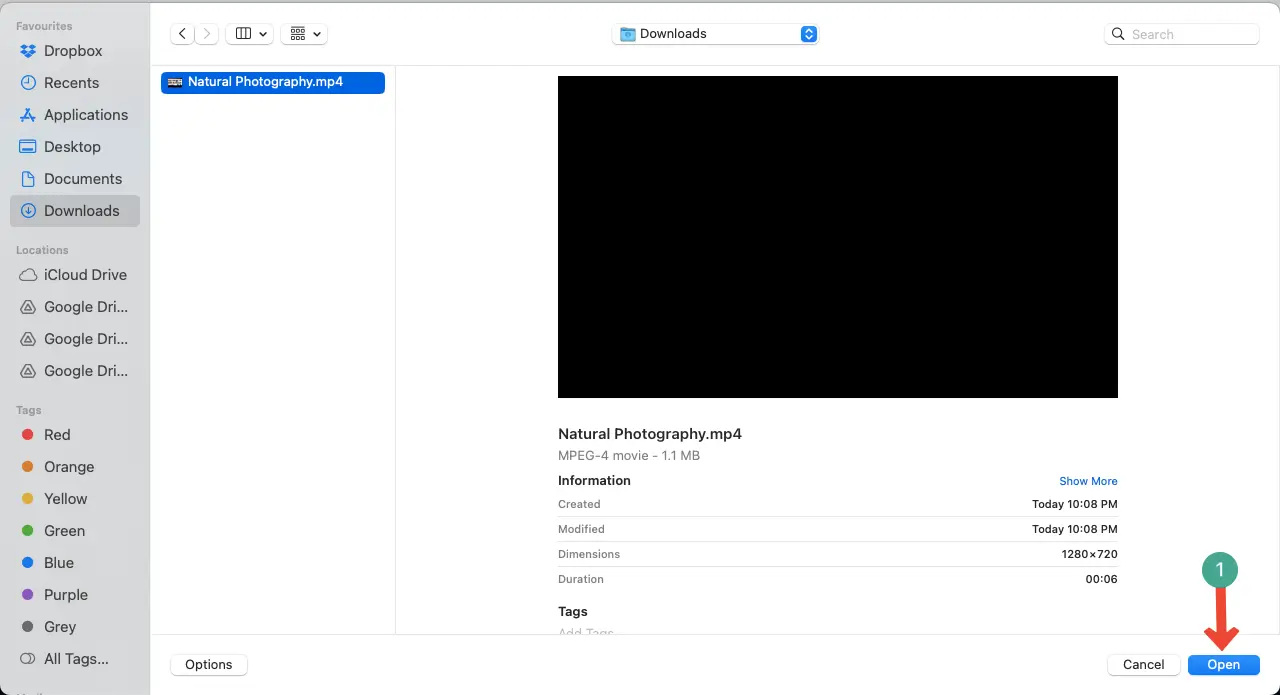
Step 03: Select a Video File From the Local Drive
Select your desired video file from your cloud or local drive. Press the Open button at the bottom-right corner.
Note: Don’t forget to name the video file before uploading it. Otherwise, you’ll fail to find the video file in the Media Library.
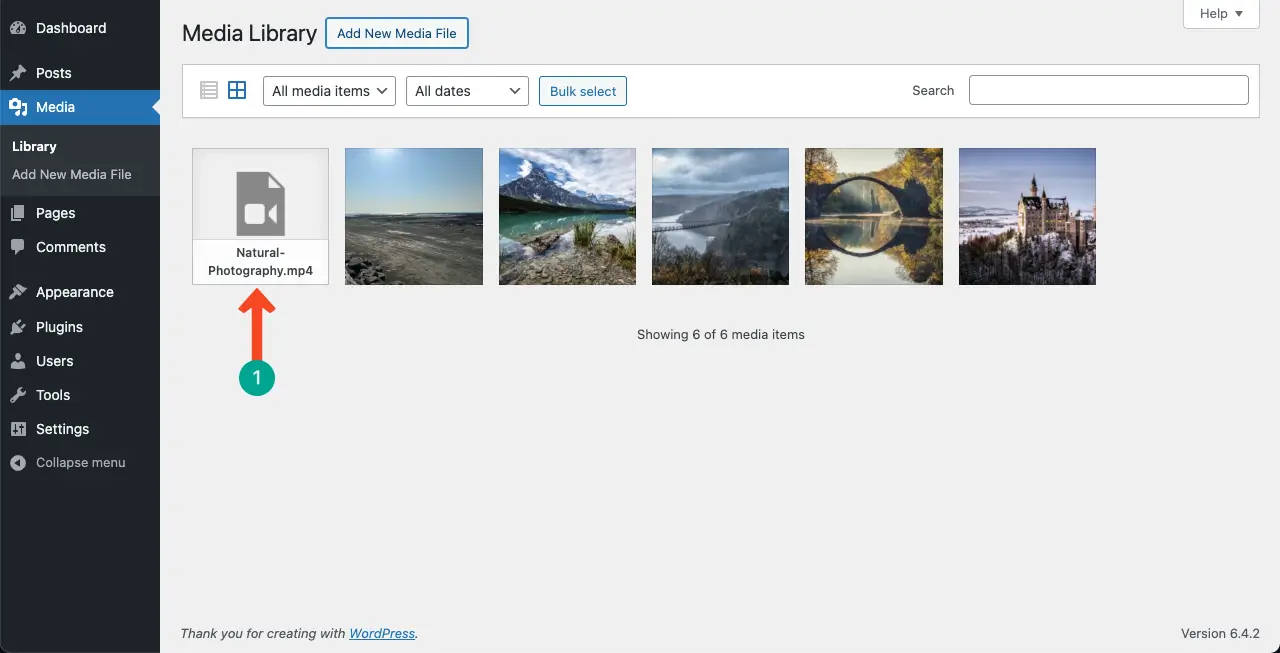
You’ll see the video uploaded to the Media Library.
Method 02: How to Upload Video to WordPress Posts and Pages
Based on your post or page content, you may want to add video files to your website instantly. Here’s how to do this.
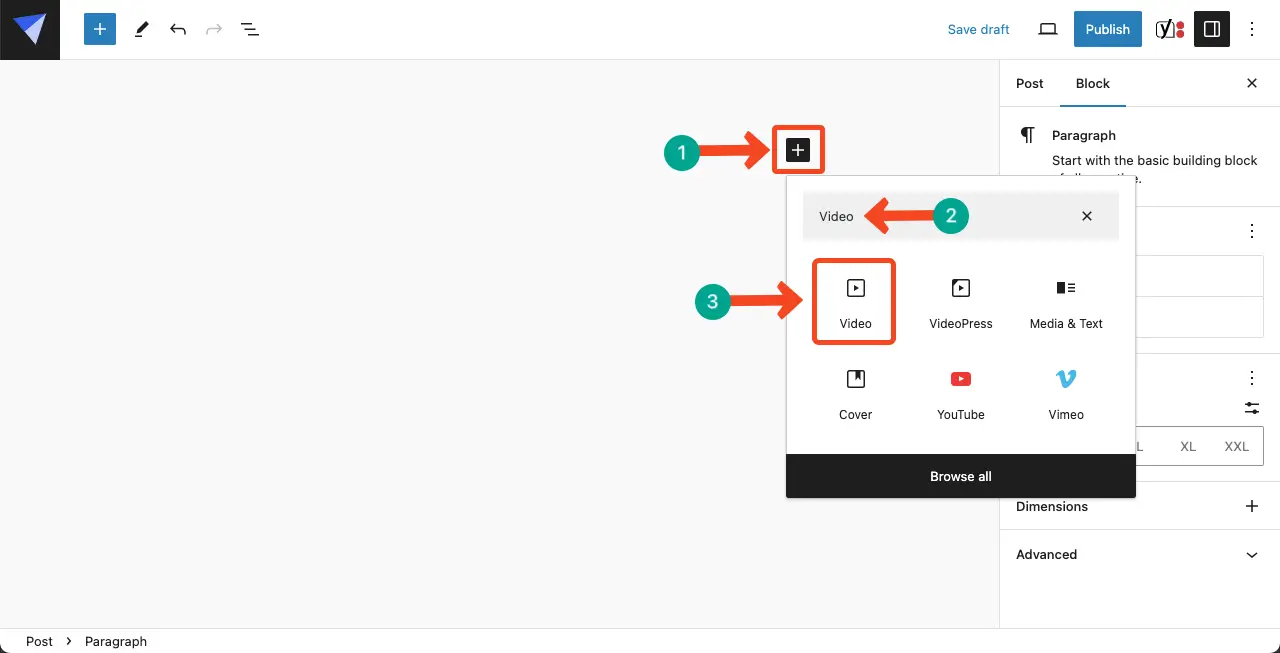
Step 01: Add the WordPress Video Block to the Gutenberg Editor
Open a post or page. Open the Gutenberg editor by pressing the Plus (+) button.
Type Video in its search box. Hit the Video block.
Step 02: Upload a New Video or Add One From the Media Library
You may add the video file from your Media Library if it’s already there. But if you want to upload a new video, click the Upload button.
You’ll be allowed to select the video file from your local or cloud drive.
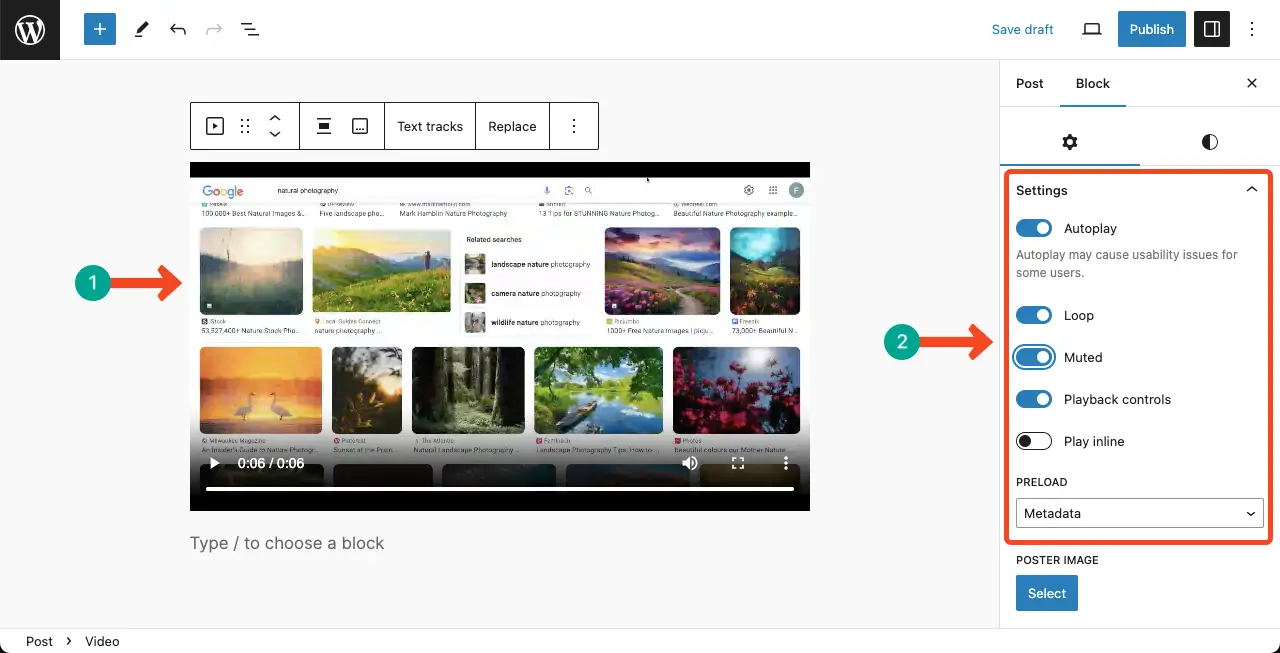
Step 03: Configure Settings of the Video Block
Once the video file is added to your post, you can configure its settings: Autoplay, Loop, Muted, Playback Controls, and Play Inline.
Best Practices in Adding Videos to WordPress
From my personal experience, I have figured out several best practices by which you can greatly enhance the user experience and engagement while adding videos to your posts and pages.
1. Use Third-Party Video Streaming Services
While WordPress does have a built-in video player, it is generally recommended to use third-party video streaming services like YouTube, Vimeo, or Dailymotion to host your videos. These services provide better video playback, bandwidth optimization, and compatibility across different devices and browsers.
2. Embed Videos
Instead of uploading videos directly to your WordPress site, it is better to embed them from third-party video hosting platforms. This allows you to utilize their server resources and ensures faster loading times and a smoother user experience. This can save you hosting space as well.
3. Optimize Video for Performance
To ensure optimal performance, it is important to optimize your videos before uploading them. This includes compressing the video file size, choosing the appropriate video format (such as MP4), and adjusting video resolution and bitrate.
4. Add Video Schema Markup
Adding video schema markup to your WordPress site helps search engines understand and display video content properly in search results. This can improve your video’s visibility and click-through rates. There are WordPress plugins available that can assist in adding video schema markup to your site.
5. Consider Video Plugins
WordPress offers a variety of video plugins that can enhance the functionality and appearance of your videos. These plugins can provide features like video galleries, video backgrounds, video chat, and more. Explore the available plugins to find the ones that best suit your needs.
6. Use Short Videos for Engagement
Short videos are more likely to capture and retain the attention of your audience. Consider creating concise and engaging videos that deliver your message effectively. Mixing in personal videos occasionally can add personality to your site and help you connect with your audience.
FAQ on How to Upload a Video to WordPress

What video file can I upload to WordPress?
You can upload these video files to WordPress: MP4, M4V, MOV, WMV, AVI, MPG, OGV, 3GP, 3G2, and more.
Why may I fail to upload a video file in WordPress?
1. File Size Limitations
2. Server or Memory Limitations
3. File Type Restrictions
4. Slow or Unstable Internet Connection
5. Incorrect File Permissions
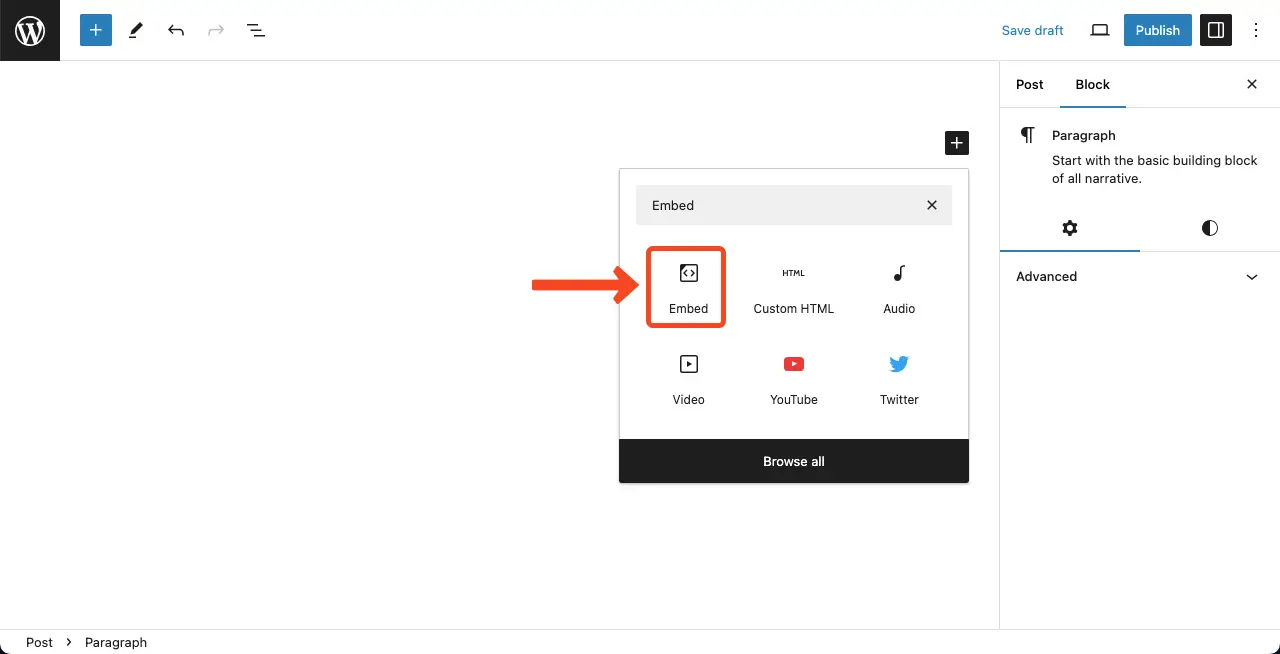
How can I embed a video file into WordPress?
You can embed video files from third-party streaming platforms using the Embed block.
Besides, you can use YouTube, TikTok, Dailymotion, etc. blocks to embed videos from the respective streaming platforms.
Can video files slow down my website?
Video files can potentially slow down a WordPress site due to the following reasons:
- Large file size
- Multiple network requests
- Bandwidth consumption
How to optimize web performance even after uploading video files?
To mitigate the website slowdown issues and ensure optimal site performance, consider the following practices:
- Optimize videos
- Use video embeds
- Lazy load videos
- Use to a Content Delivery Network (CDN)
Conclusion: How to Upload a Video to WordPress
Videos can be an excellent tool for educational purposes. By adding video files, you can present tutorials, online courses, instructional guides, etc. They can convey your message effectively and leave a lasting impression on your website visitors and users.
Hope by following the steps above, you can now easily upload video files to your WordPress site and manage them effectively. So, don’t hesitate anymore to explore the possibilities of video content on your WordPress site. Let me know your feedback in the comment box below.