The Gutenberg Row block provides a flexible way by which you can structure and present your content into rows and columns. You can even add additional blocks within the row blocks to create dynamic layouts for your posts and pages.
In this tutorial post, I will show you how to use the Gutenberg Row block and explain how to add other blocks and content within it. Get ready!
Step 01: Add the Row Block to WordPress Post or Page
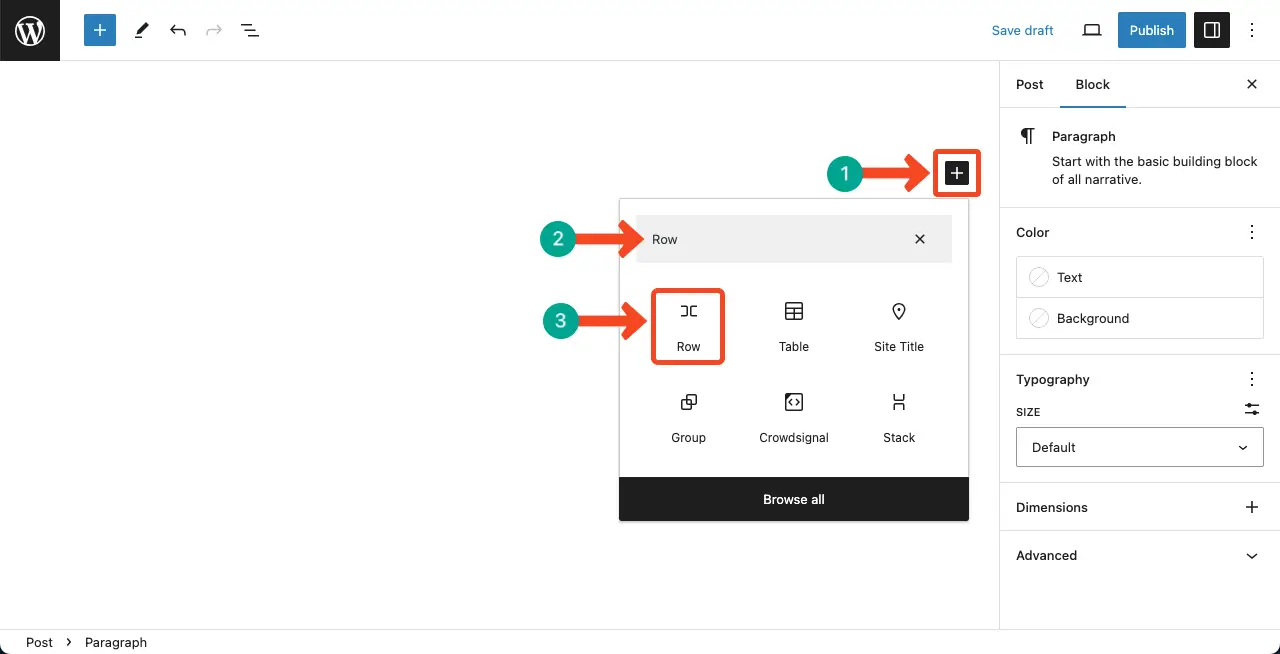
Open a new post or page or edit an existing one. Click on the (+) button to add a new block. In the search bar, type ‘Row’ to locate the Row block. Click on the Row block to add it to your post or page.
Step 02: Add Content to the Row Block
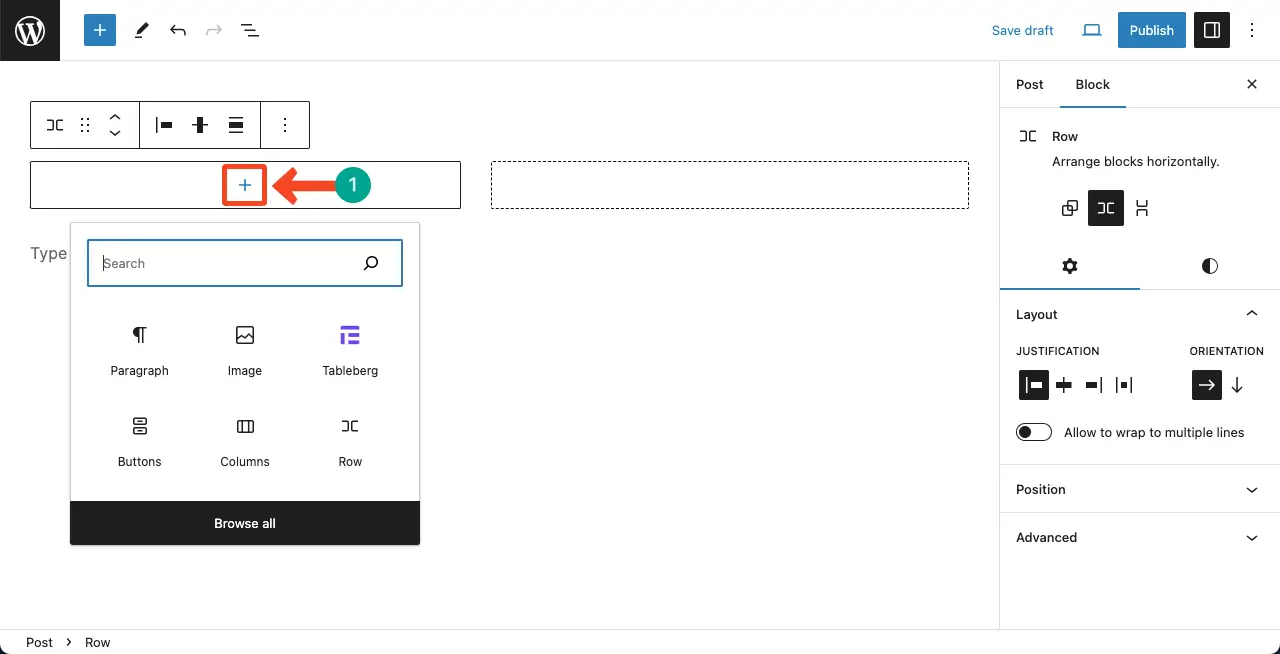
Once the Row block is added, you’ll notice two columns by default. But only the first column will let you add content. The second one is a dummy column. You can’t add any content to the second column.
Now, to add content, click the (+) button inside the first column. Choose the desired block from the block library. You can even add any custom block. Repeat the process to add content to the other column(s).
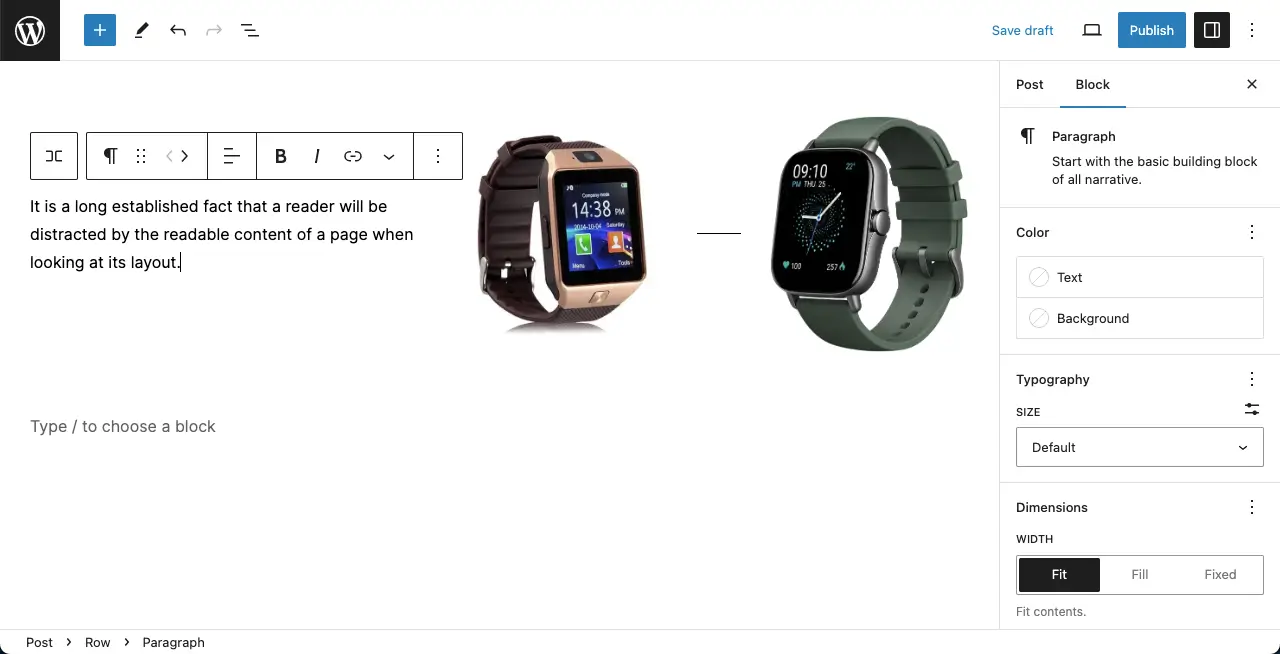
You can see that we have added text content to the block. To add new content, select the entire row block first by clicking the row icon on the toolbar. You’ll see the Gutenberg plus (+) appeared. Click to choose other content blocks.

You can see that we have added content to the row block. We have added texts, images, and a separator between the images. Thus, you can keep adding content to the Gutenberg row block.
Step 03: Configure Settings and Customize the Row Block
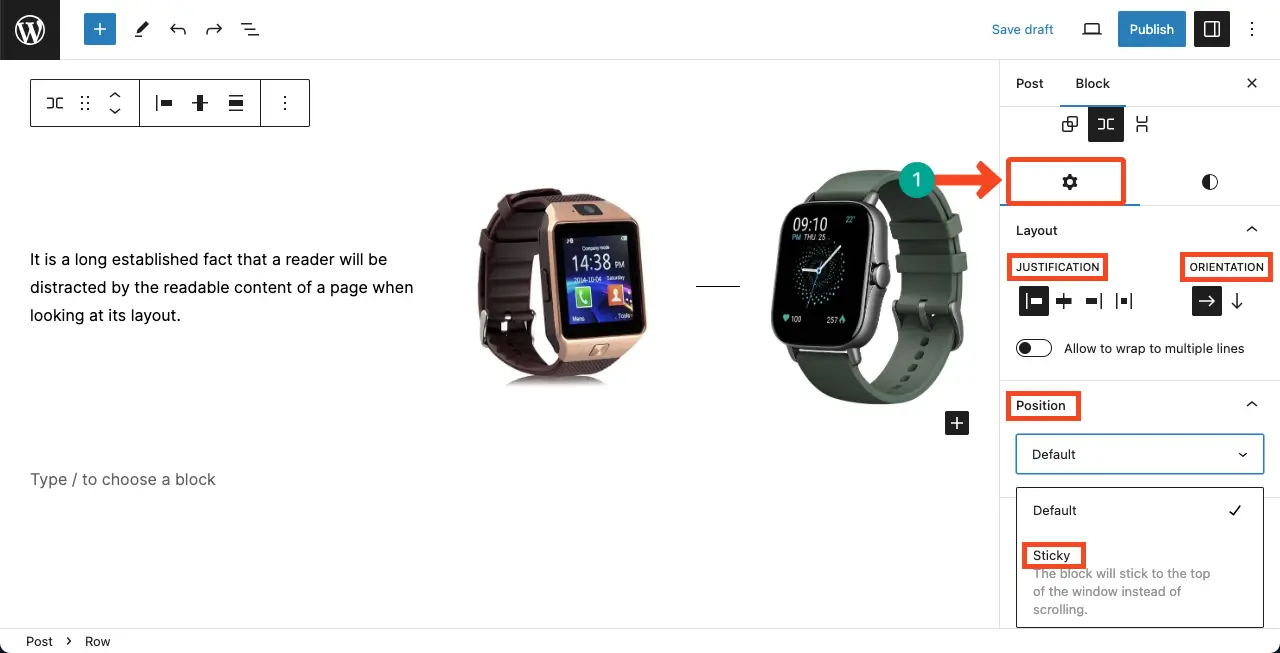
Select the Row block by clicking on it. You’ll find various options to customize the row in the block settings panel on the right-hand side.
The Settings tab on the right sidebar will allow you to customize the block’s layout, justification, orientation, and position.
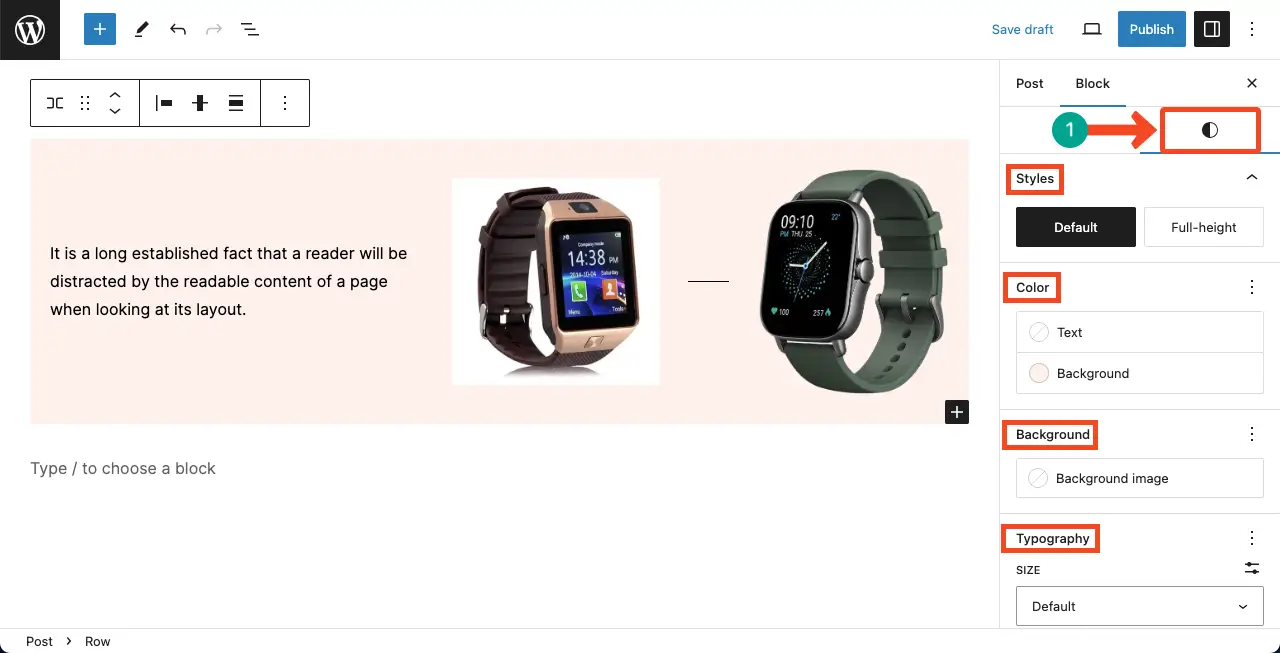
Next, come to the Styles tab. You’ll get options to customize the block color, text color, background color, typography, padding, and margin. Do the necessary customizations as you need.
Best Practices for Using the Row Block
Plan your layout before adding the Row block to ensure a cohesive and visually appealing design.
Use the Row block to display content side by side or create a grid-like structure. Experiment with different column configurations to find the best arrangement for your content.
Take advantage of the customization options to match the row’s style with your website’s overall design.
Optimize the row’s responsiveness by testing how it appears on different devices.
Conclusion
By following the steps outlined in this tutorial, hope you can easily add the Row block to your WordPress posts or pages, add content, and customize it to suit your needs. The process of using the Gutenberg column block in WordPress is quite similar to that of the row block.