The Gutenberg block editor comes with a default Search block. Once you add the block to your post or page, users and visitors can quickly search for the specific content. This can save them time and improve user experience simultaneously.
In this article, I will guide you on how to add a search box to WordPress using the default Gutenberg search block. Get started!
Method One: How to Add a Search Box to WordPress Using the Search Block
You can simply add the search box to any WordPress posts and pages. The first method will explain to you to the process.
Step 01: Add the Search Block to Your Site From the Block Library
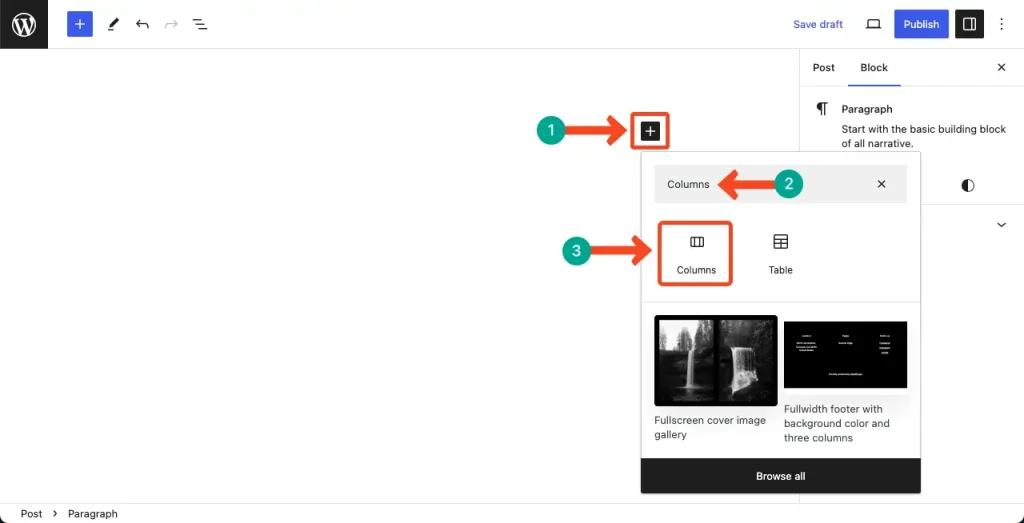
Open the block library by clicking the plus (+) button on the editor. Type Search in the box to get the block to appear. Add the block to the editor.
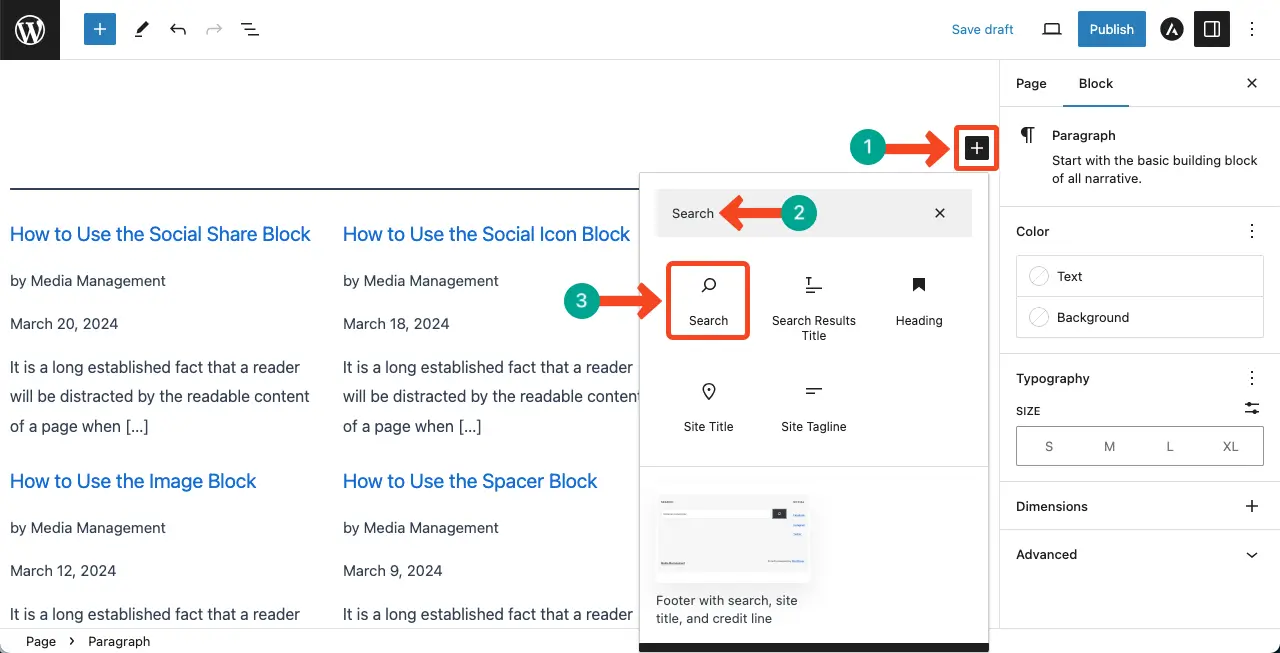
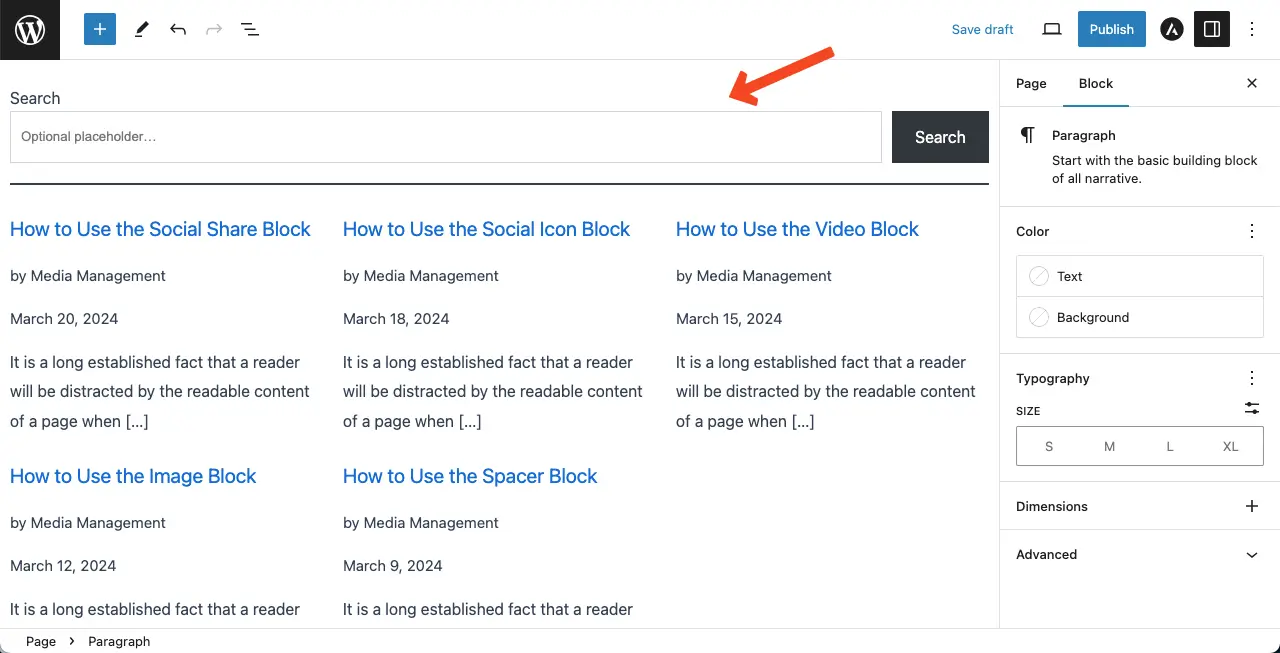
The block will simply be added to the editor.
Step 02: Add a Label to the Search Box
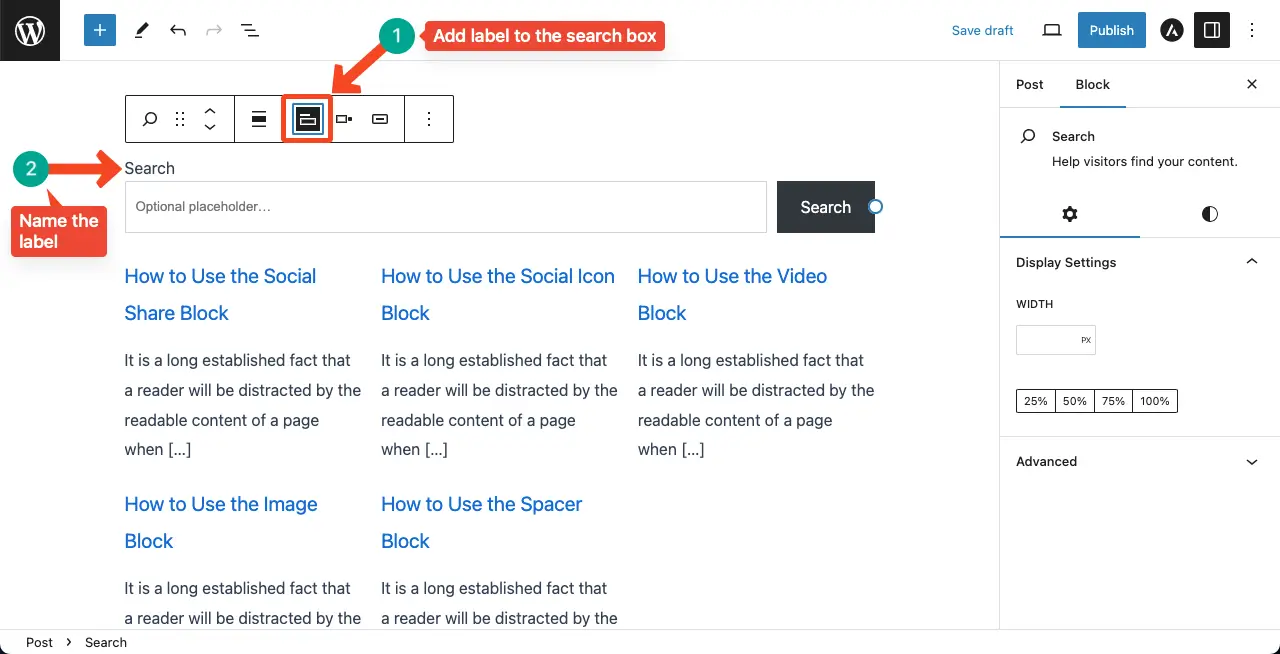
You may want to add a label to the search box. Hitting the Toggle Search Label button on the toolbar will make this option appear. Type some words as you want to label this option.
Step 03: Change the Button Position in the Search Box
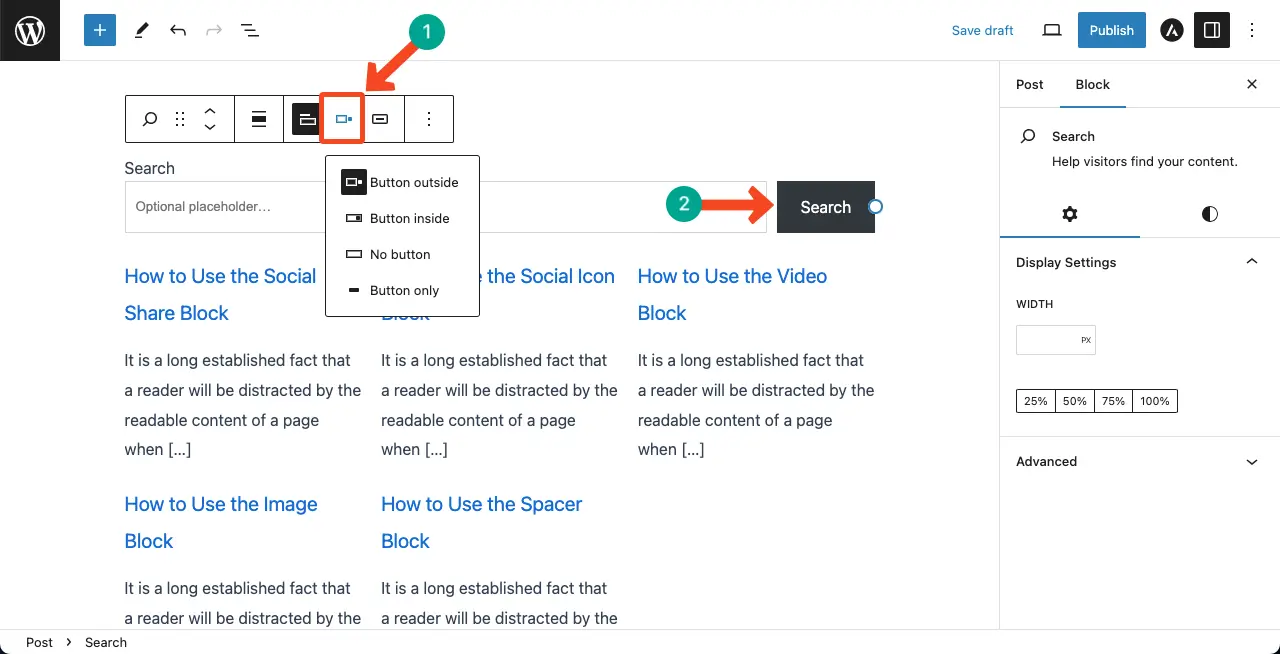
By default, the search box button comes on the right side with a gap between them. To change its position, click the Change button position on the toolbar. It will allow you to select a position from four options: Button outside, Button inside, No button, and Button only.
Step 04: Show the Icon on the Search Button
You may display the search button, whether with an icon or text. Click the Use button with icon on the toolbar.
Step 05: Preview the Search Box on the Frontend
Come to the frontend. Type a query in the search box and hit the button. Hope you’ll get your desired result in a few seconds.
In the same way, you can add this block anywhere on your website.
Method Two: Present the Search Box Within the Column Block
As you can see in the above method, the search box spans the entire page layout. Such a huge search box is not only visually unpleasing, but it can also affect the page’s design.
You may want to minimize its size and align it to either the right or left side of the page. I’ll show you the process through this second method.
Step 01: Add the Column Block
Add the column block to your post/page in the same way as above.
Step 02: Select a Column Layout
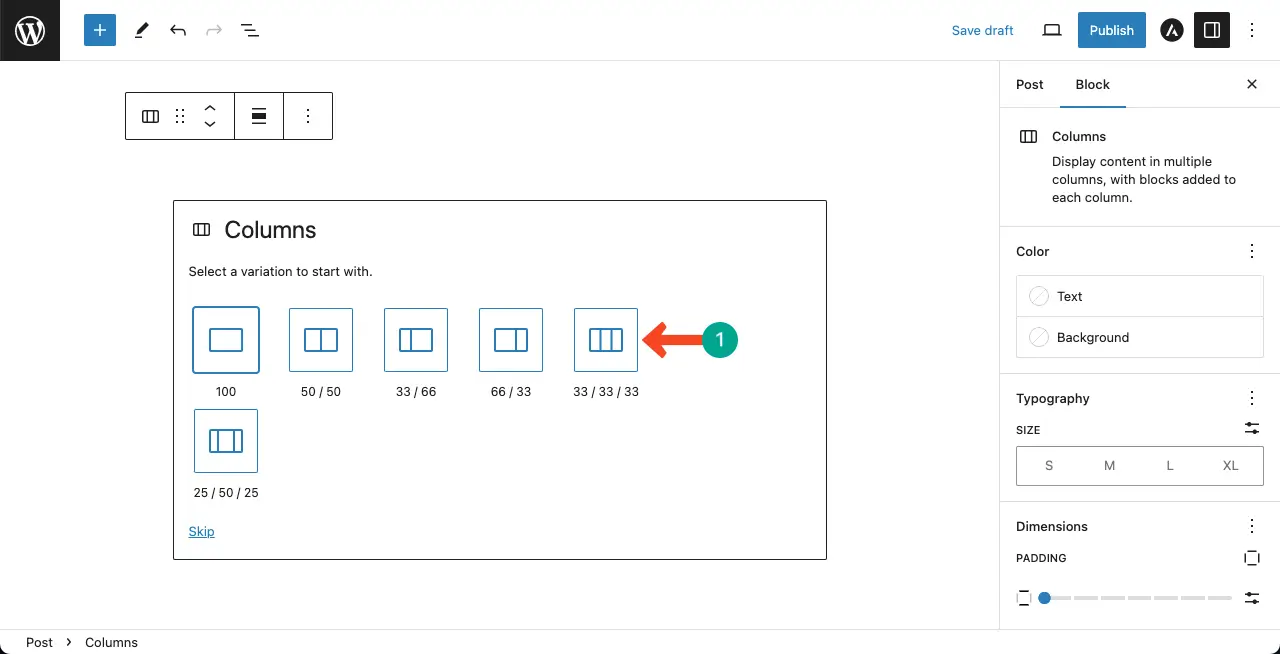
Select a column layout to place the search box. For this tutorial, I’m selecting the 33/33/33 layout, which will divide the block into three columns equally.
Step 03: Add the Search Block to the Column Block
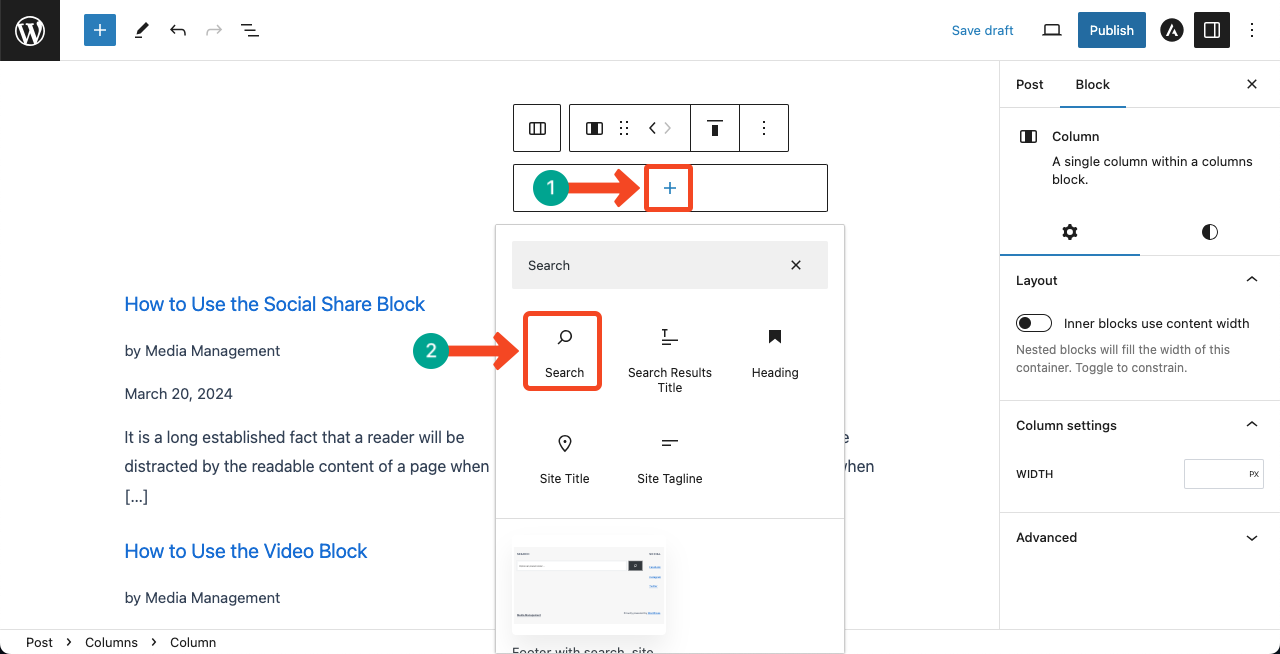
Each column comes with the Gutenberg block-adding option. Find the Search block by clicking the plus (+) button within the selected column block. Add it to the column.
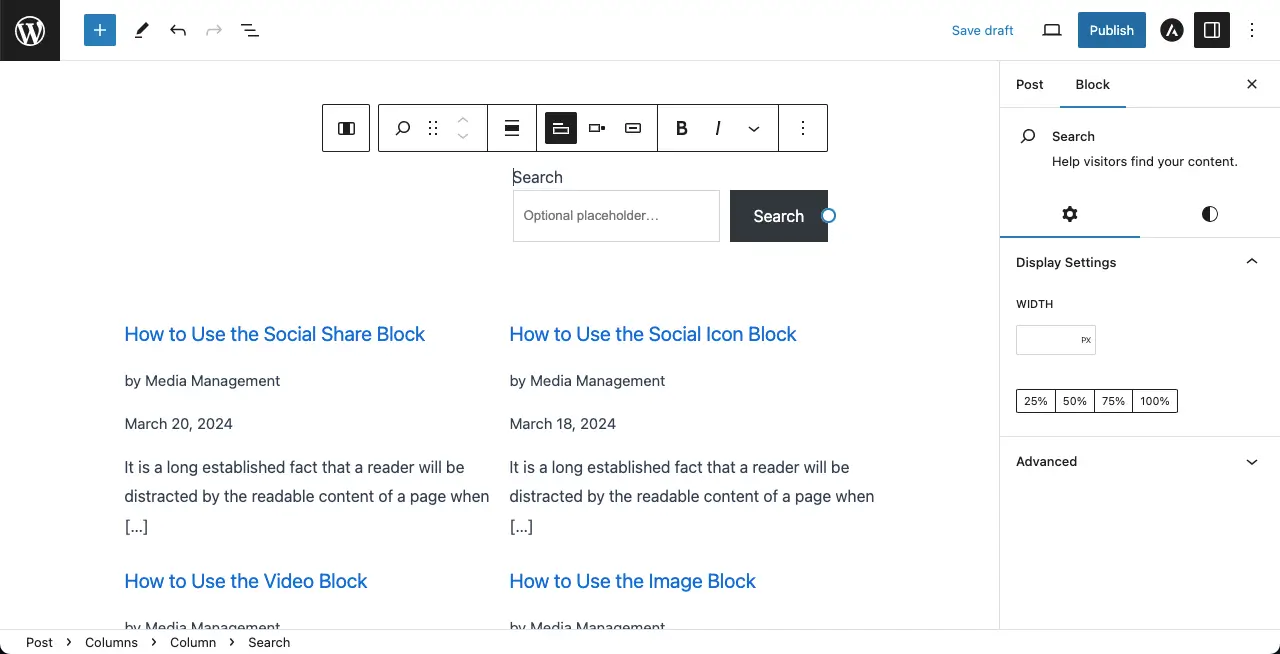
Bingo! It’s done. You can now customize it following the above method to make it look more beautiful.
Learn how to add spaces between blocks in WordPress using the Spacer Block.
Method Three: How to Add the Search Box in the Website Header
Note that the theme’s appearance customization options vary from theme to theme. So how to add a search box to the header of the theme, the process will also be different depending on the theme.
We will explain this method here using the Astra theme, as it is one of the most popular and widely used themes.
Step 01: Go to the Customization Option of Your Theme
Come to your site dashboard. Navigate to Appearance > Customize.

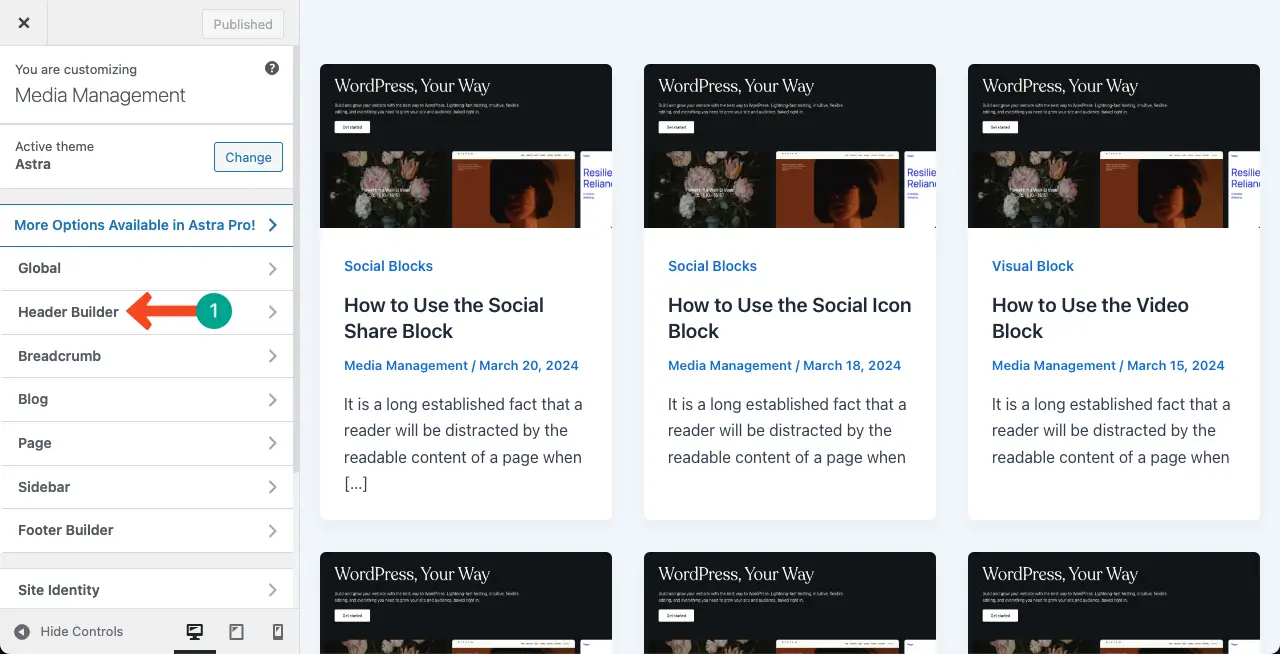
Step 02: Open the Header Builder
Next, come to the Header Builder option.
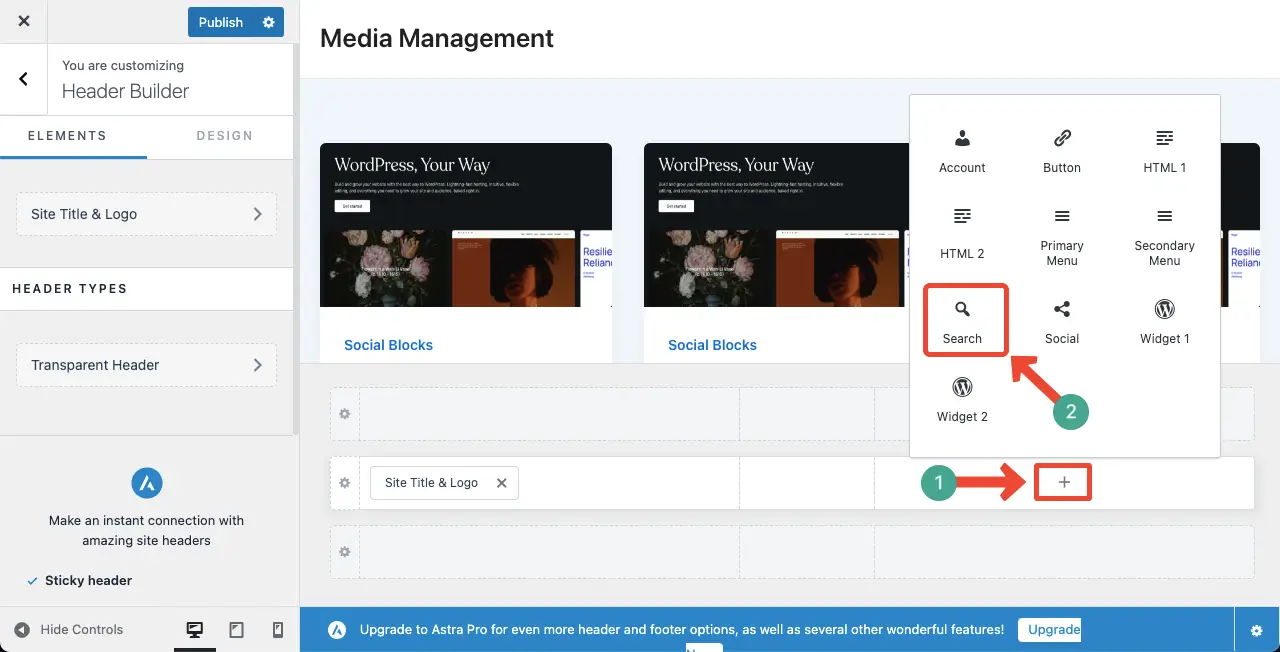
Step 03: Add the Search Box to the Website Header
While hovering your cursor on the header area, you’ll see the plus (+) button appear. Click the button, find the Search option, and add it to the respective area.
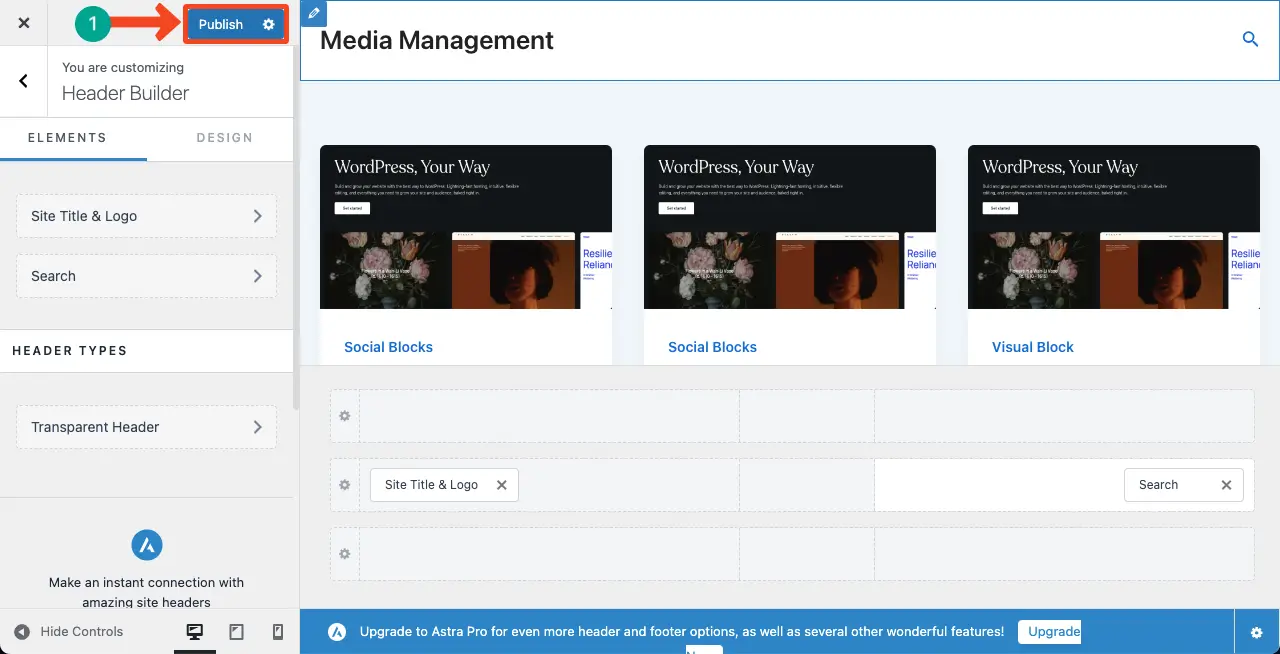
Click the Publish button on the top-left corner to save all the changes you have made.
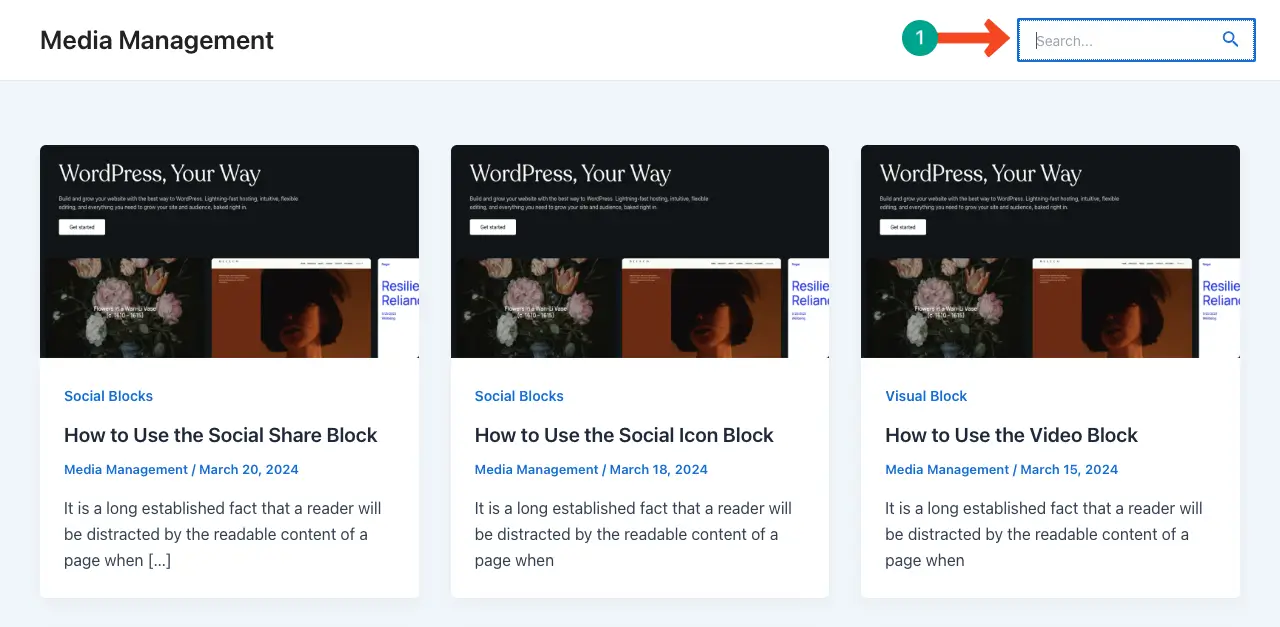
Step 04: Preview the Changes
Come to the frontend of your website. You’ll see the Search box working on the header.
Thus, you can activate the search box on your WordPress site in numerous ways.
Conclusion and Best Practices to Consider
Adding a search box to WordPress sites using the Search Block is a simple and effective way to enhance user experience. By following the steps outlined in this tutorial, hope you can easily add and customize the search box to fit your site’s design and functionality.
But remember that placement is an important factor for the search block. Try to place it in a prominent location on your site, such as the header and sidebar. This ensures that it is easily accessible to visitors and encourages them to utilize the search functionality.
Additionally, using a descriptive placeholder text can prompt users to enter specific keywords, leading to more accurate search results. Another important aspect is ensuring that the search block is visually appealing and blends well with the overall design of your website.
Hope you will consider these suggestions when designing your site. If there is any other method of adding the search box to WordPress sites you want me to cover, mention it in the comment box. I’ll try to explain that method in the next update.